In this comprehensive guide, we’ll walk you through the step-by-step process of deploying a Storybook project on Vercel using an Azure DevOps pipeline.
Before diving into the repository, it’s important to note that we received a working Storybook project built with the Lit Component Library from another vendor. The project, which uses Node.js, runs locally with the following commands:
npm install

npm build // This command build and store the files in the following folder: C:\Opt\StorybookAzureDevOps\apps\storybook\.storybook

npm run deploy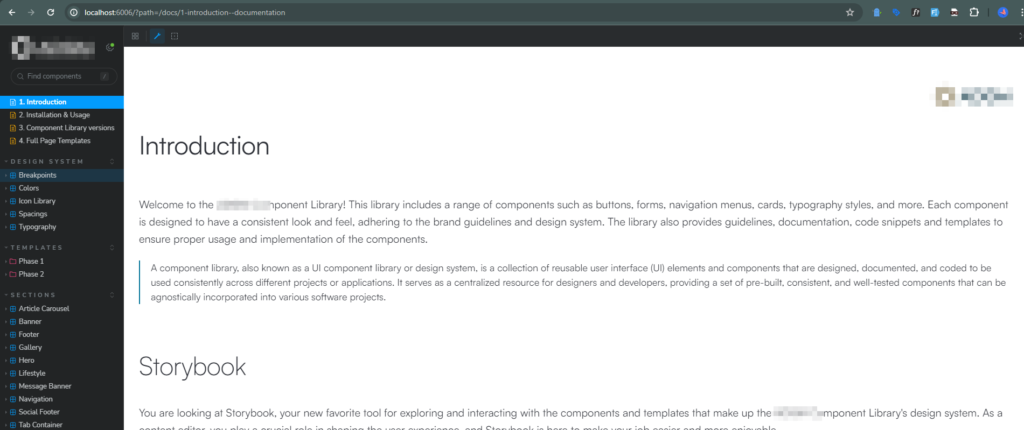
Although hosting on Vercel is straightforward using Github, Gitlab or BitBucket, there are a few configurations and steps that can be time-consuming to understand for Azure DevOps. We’ll guide you through each step for deploying an application on Vercel using Azure DevOps Pipelines and discuss the challenges you might encounter.
Requirement
- Storybook project created with the Lit Component Library.
- Repository hosted on Azure DevOps.
- Deployment target: Vercel.
Solution
Vercel supports easy integration with GitHub, GitLab, and Bitbucket, but not directly with Azure DevOps. Fortunately, Vercel offers a useful “Azure Deployment Extension” that simplifies the process.
Prerequisites
- Vercel CLI
- Access to Azure DevOps Project
- Vercel Account
Step 1: Login to Vercel CLI
Open your command prompt as an administrator and log in to Vercel:
vercel loginFollow the Vercel login verification process to authenticate.
Step 2: Create a New Vercel Project
Use the following command to create a new project on Vercel:
vercel project addStep 3: Retrieve IDs from Vercel
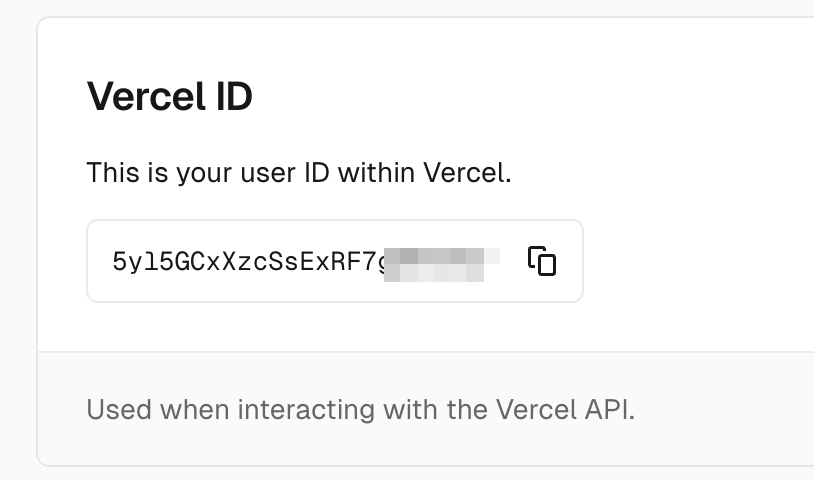
User ID: Navigate to your Vercel account settings to find your User ID.
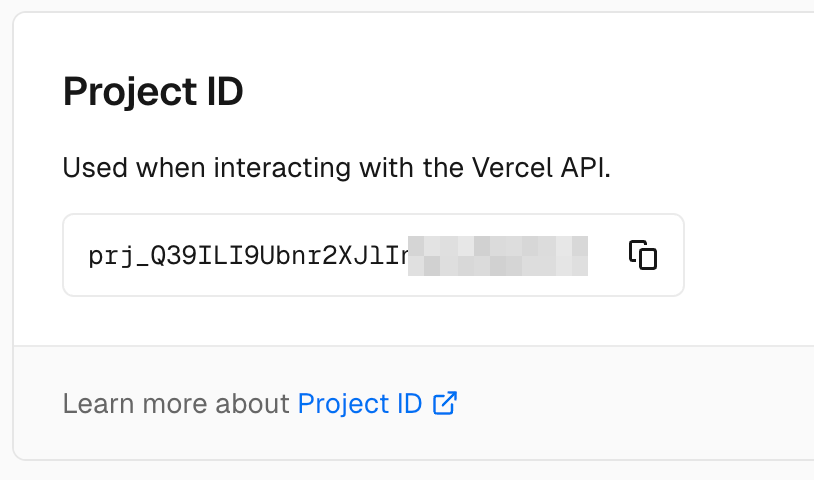
Project ID: Copy the Project ID from your newly created project on Vercel.
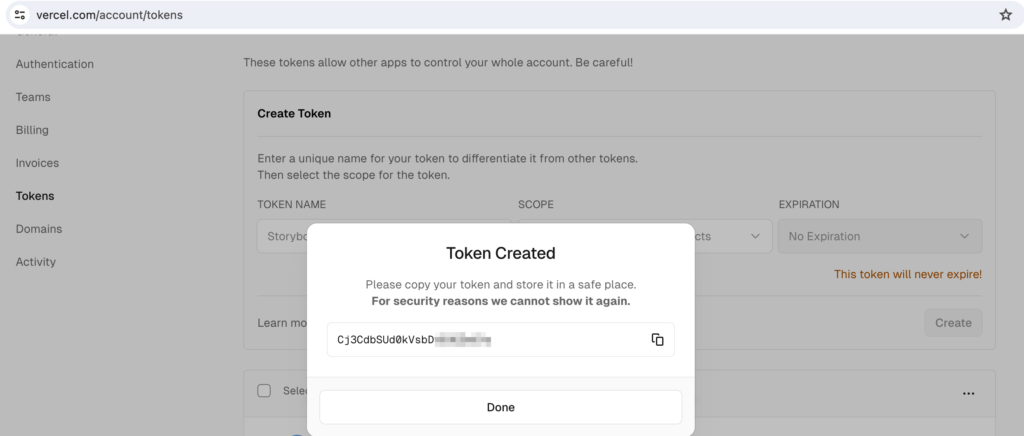
Step 4: Generate and Copy Token from Vercel
Generate a token in Vercel and copy it for later use.
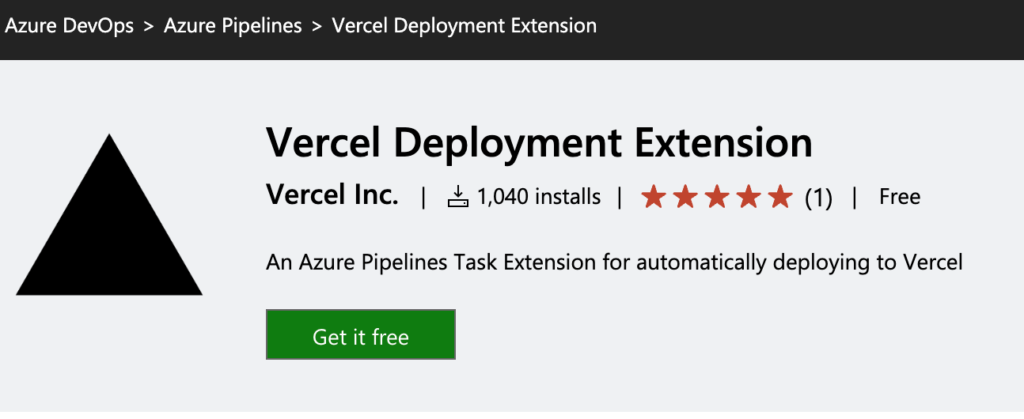
Step 5: Install Vercel Deployment Extension on Azure DevOps
Install the Vercel Deployment Extension from the Azure Marketplace. This requires administrative access. If you don’t have administrative access, request installation from your Azure DevOps administrator.
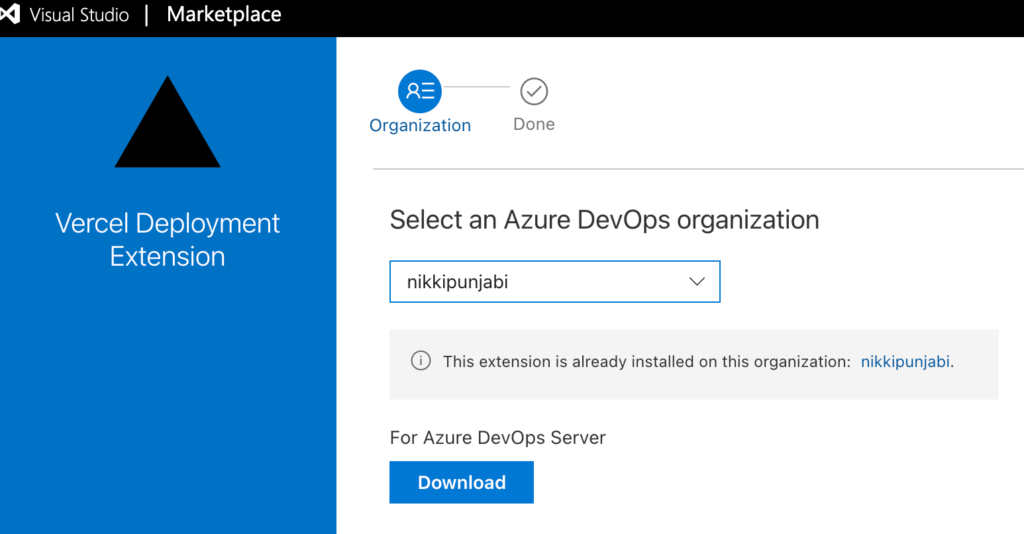
If you don’t have administrative access, you can still make a request with a reason for installation when you click “Get Free” during installation. This will notify the Azure DevOps administrator. You cannot proceed further without this extension on your Azure DevOps account from where you need to deploy the application to Vercel.
Step 6: Create and Configure an Azure DevOps Pipeline
Create a new pipeline in Azure DevOps using and select Node.js for pipeline configuration. Replace the pipeline code with the following configuration:
trigger:
- master

pool:
  vmImage: ubuntu-latest

steps:

 - task: vercel-deployment-task@1
   inputs:
     vercelProjectId: 'prj_cltU1Fkd83L5zDu3l75111111'
     vercelOrgId: 'AHL7CcMKgGf1M01RCD111111'
     vercelToken: 'EthBDqCsSIapPw0Axpqn11111'
     production: true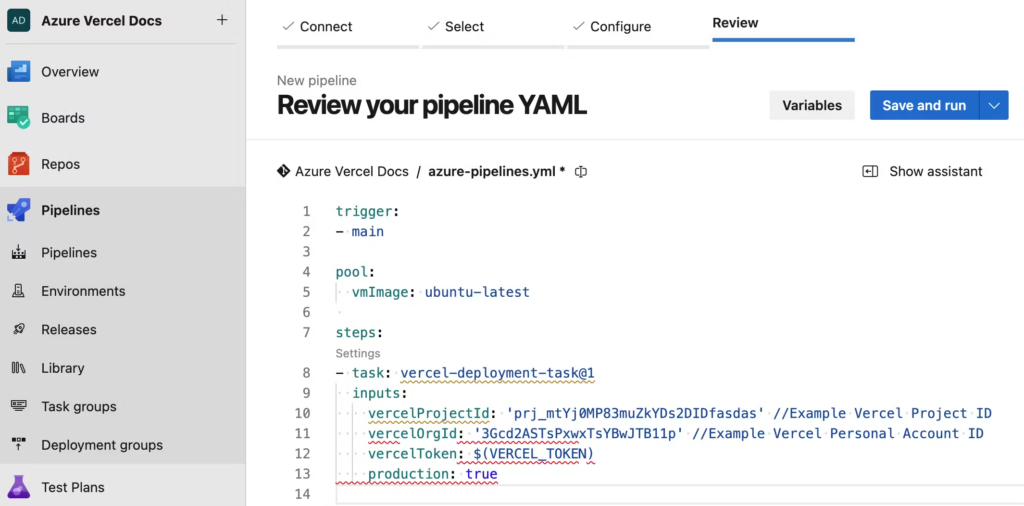
Replace your_vercel_project_id, your_vercel_org_id, and your_vercel_token with the values you retrieved earlier.
Note: If you do not have the extension installed, you’ll see an error within the pipeline because Azure DevOps will not be able to find the required command for the pipeline without the Vercel Deployment Extension.
Step 7: Run the pipeline
Run the pipeline to deploy your project to Vercel. If you encounter errors, ensure your configurations on Vercel are correct.
Configurations for Storybook on Vercel
Set the proper configurations in Vercel:
Output Directory:/.storybook
Root Directory: apps/storybook
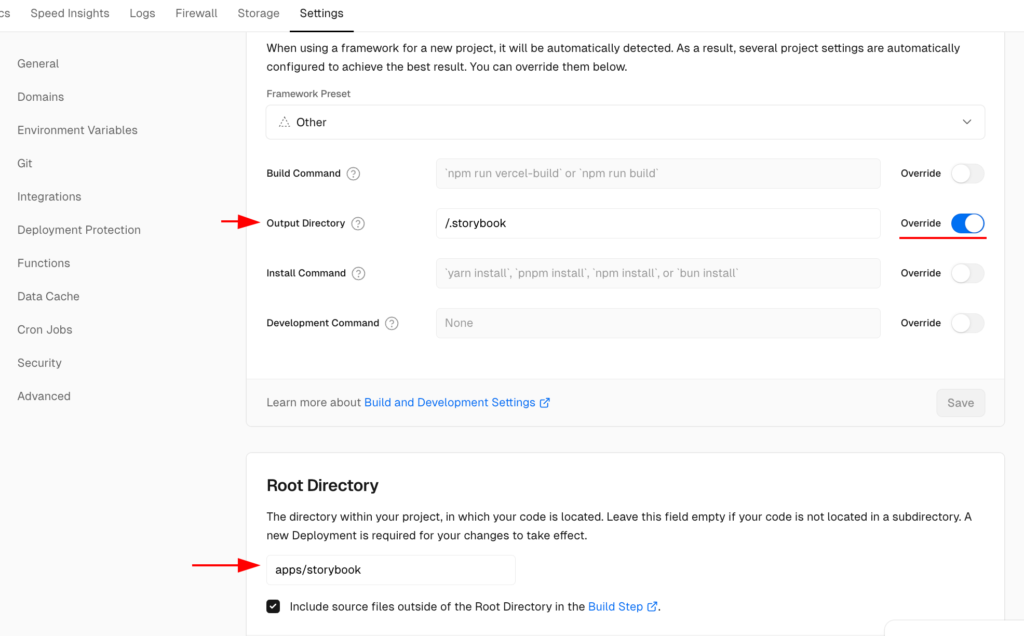
In our case, the output directory should be “/.storybook” and the root directory should be “apps/storybook“. You’ll need to set these according to your Storybook configurations.
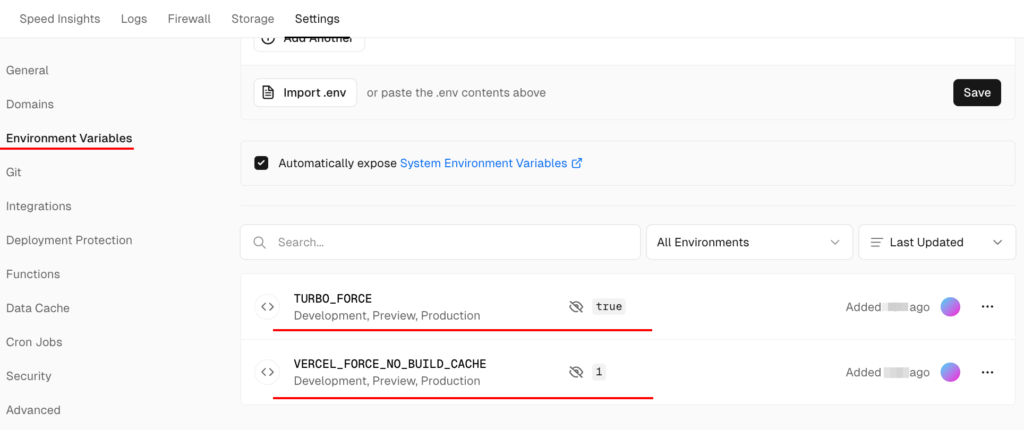
Step 8: Set Environment Variables
Configure the environment variables on your Vercel project as shown in the screenshot below. This will ensure the cache is refreshed upon each deployment.
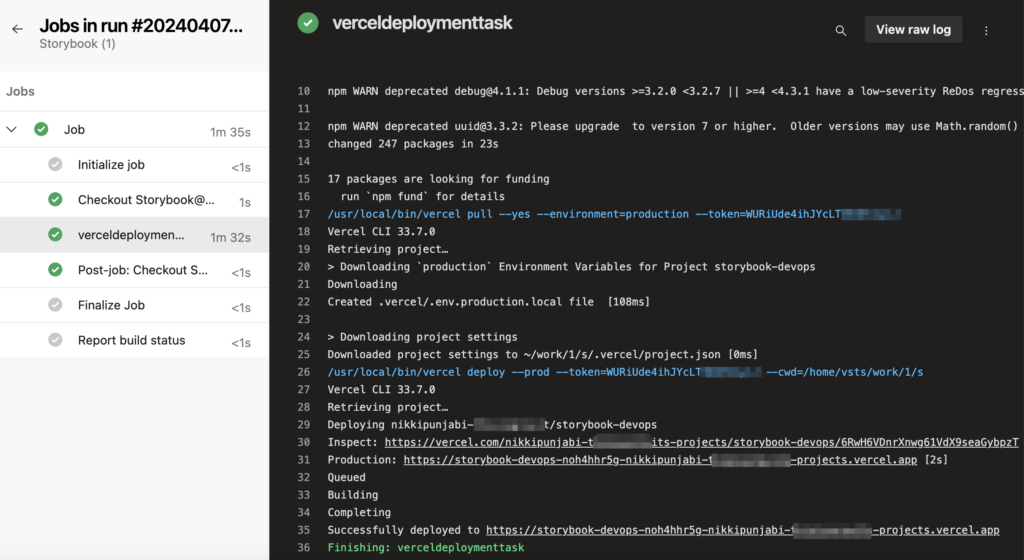
Step 9: Redeploy the Pipeline
Once the configurations are complete, rerun the pipeline on Azure DevOps. This time, the deployment should be successful, and you should see the results.
Additional Resources
https://vercel.com/docs/deployments/git/vercel-for-azure-pipelines
By following this guide, you should be able to deploy your Storybook project on Vercel using Azure DevOps Pipeline efficiently. Happy deploying!