Sitecore Federated Authentication – Part 3 – Sitecore User and Claims Identity

If you have followed my previous post, I hope you should now be able to login to Sitecore using External Identity Provider. In this post, we will see more about Claims Identity and store required values in Sitecore User Profile also we’ll create a user with the user’s email address instead of the hash code.

Claims Identity

Claims-based identity is a common way for applications to acquire the identity information they need about users inside their organization, in other organizations, and on the Internet.

Both Google and Facebook provide different claim identity name and value. So in order to bind properly, we have to update the configuration as below. You should explore Facebook Graph API from Facebook and OAuth 2.0 Playground from Google in order to get more information about the user.

In order to store the Full Name value of a user in Sitecore, I was trying to add http://schemas.xmlsoap.org/ws/2005/05/identity/claims/name claim directly to a Full Name Property in Sitecore User Profile for a user in Property Initializer Mapping. But each time I try to add it always store sitecore\APTixbqulVz0qp5xEbNrkA in the Full Name instead storing Nikki Punjabi as a name, which I was getting from both the identity providers as a claim value.

Solution:

<!--Add Full Name Claim Transformation-->
<transformation name="name" type="Sitecore.Owin.Authentication.Services.DefaultTransformation,Sitecore.Owin.Authentication">
	<sources hint="raw:AddSource">
	        <claim name="http://schemas.xmlsoap.org/ws/2005/05/identity/claims/name" />
	</sources>
	<targets hint="raw:AddTarget">
	        <claim name="FullName" />
	</targets>
</transformation>
Read More

Sitecore Federated Authentication – Part 2 – Google and Facebook App and the Custom Processor

In the previous post, we did the required configuration for the authentication with Google and Facebook Identity Providers. Now we need to write the processor which will connect the Sitecore instance with External Identities. Before that, we need the Client ID and Client Secret keys from Google and App ID and App Secret keys from Facebook.

Create Facebook App

Create the Facebook app – https://developers.facebook.com/

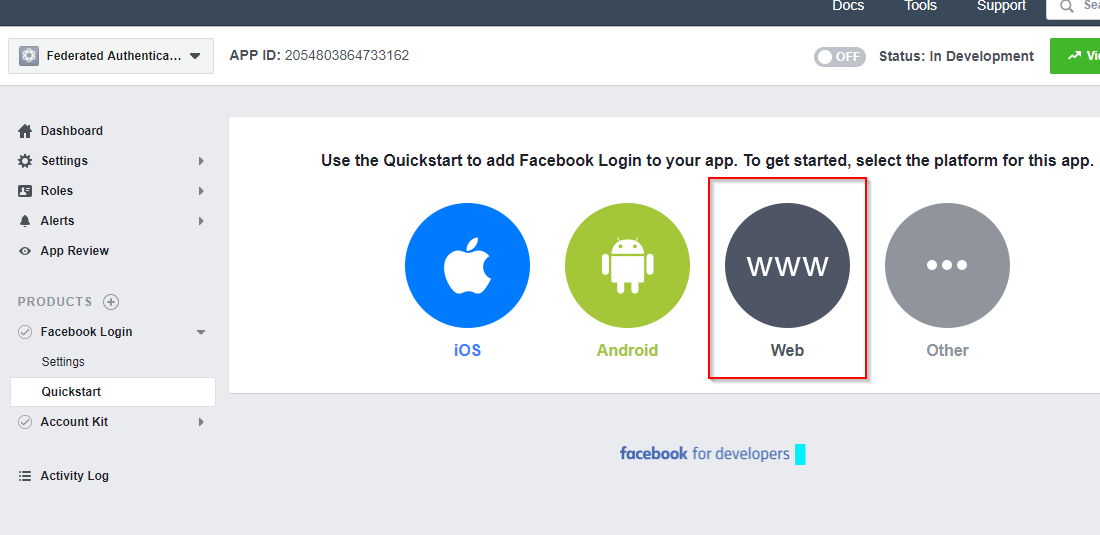
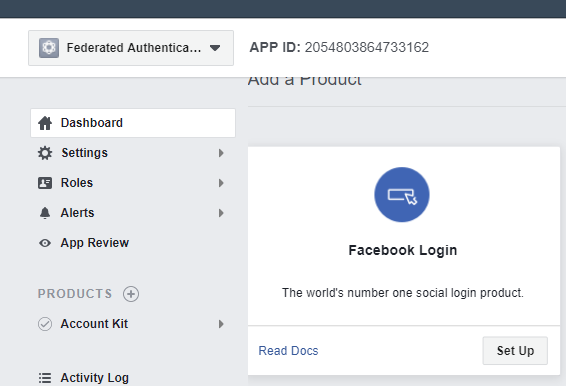
Set up the Facebook Login and create a Web App.

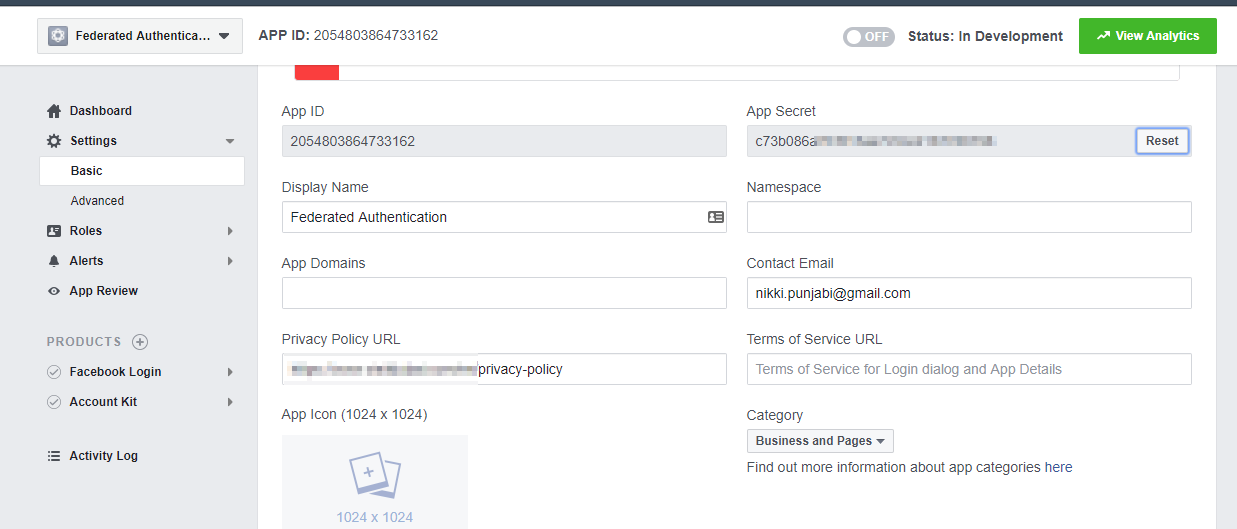
Go to Basic and copy the App ID and App Secret keys. We’ll need it at the later stage. You’ll need to add the Privacy-Policy URL.

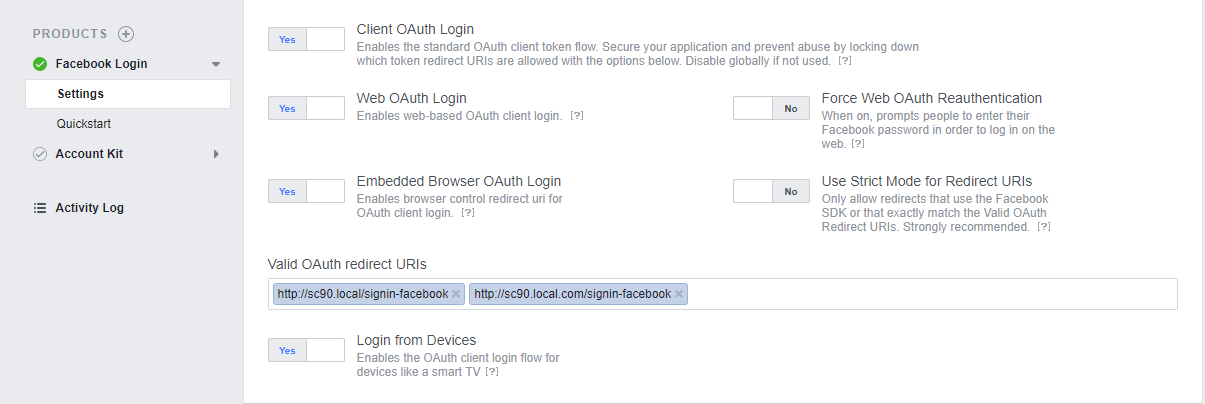
Click on Settings – Enter the proper value for Valid OAuth redirect URIs. This will be <hostname> + “/signin-” + <identityprovidername>. In my case it’s https://sc90.local.com/signin-facebook

Create Google App

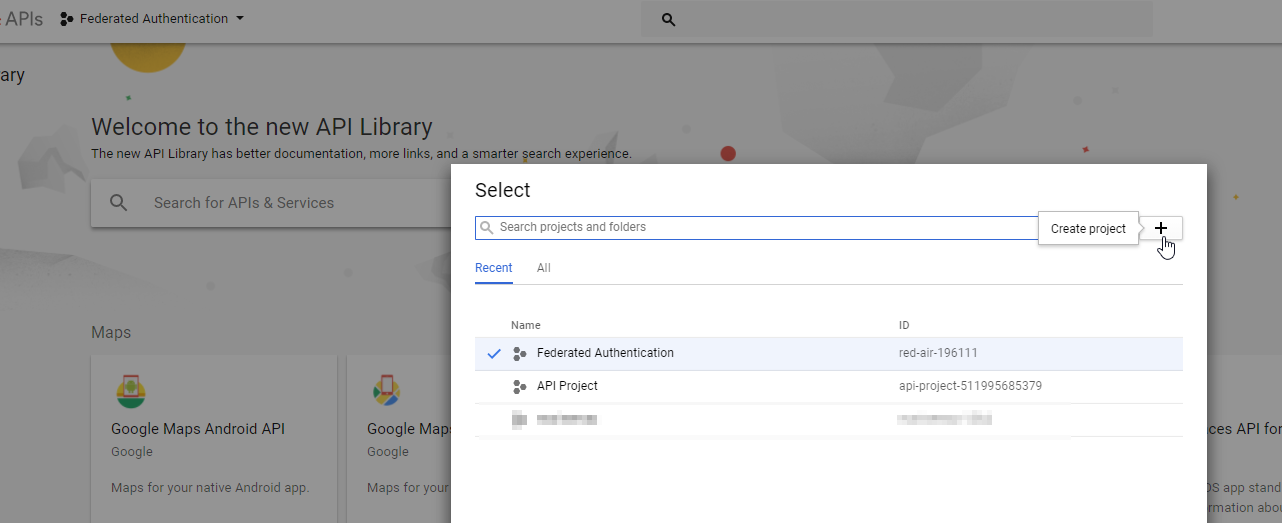
Create the new Google Project – https://console.developers.google.com/

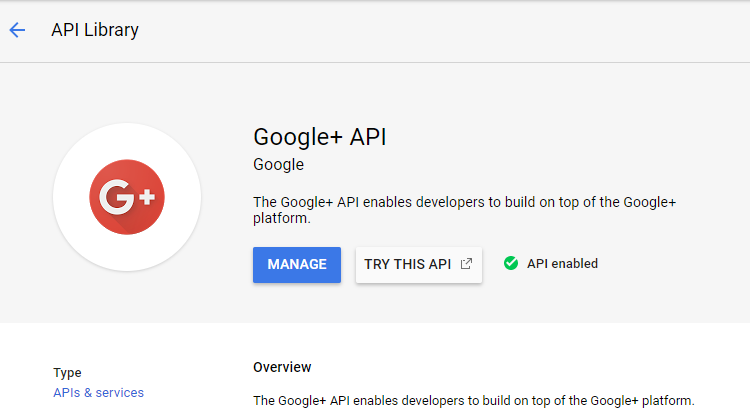
In the API Library, Enable Google+ API. Go to API Library, navigate to Social, you’ll find the Google+API. Select and Click on Enable. Our google app is now enabled for the OAuth Authentication.

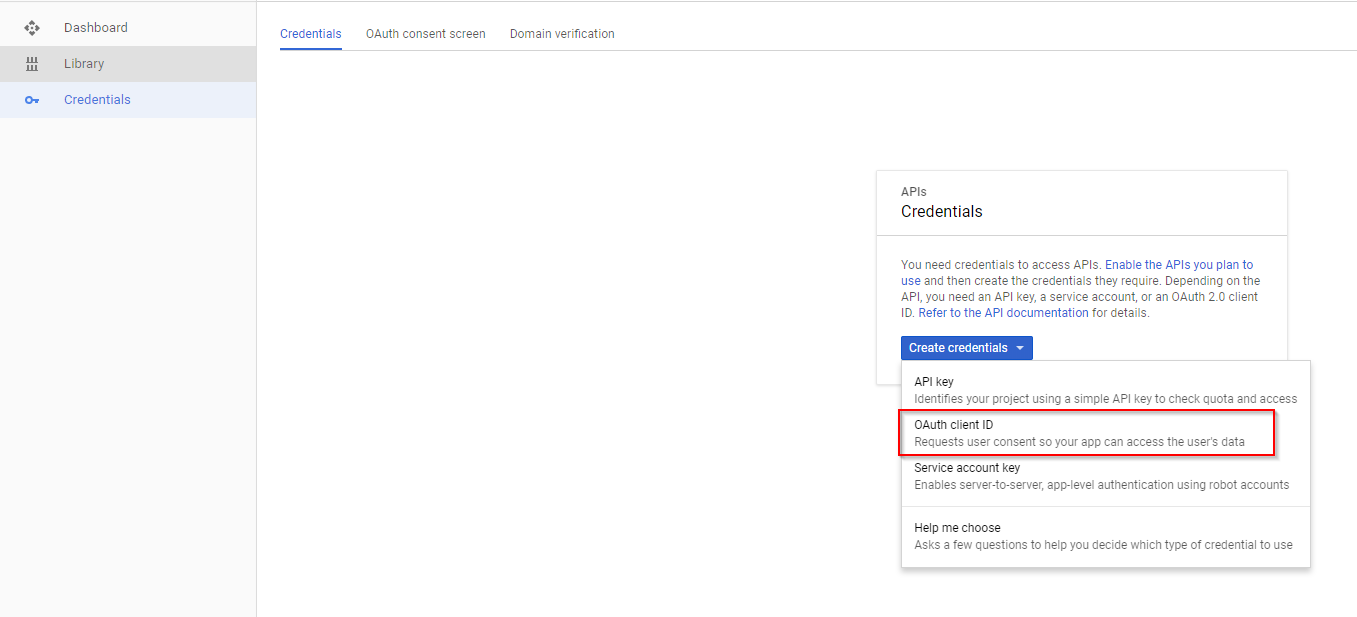
Navigate to Credentials and Create OAuth client ID credentials  — This will provide you the Client ID and Secret Key.

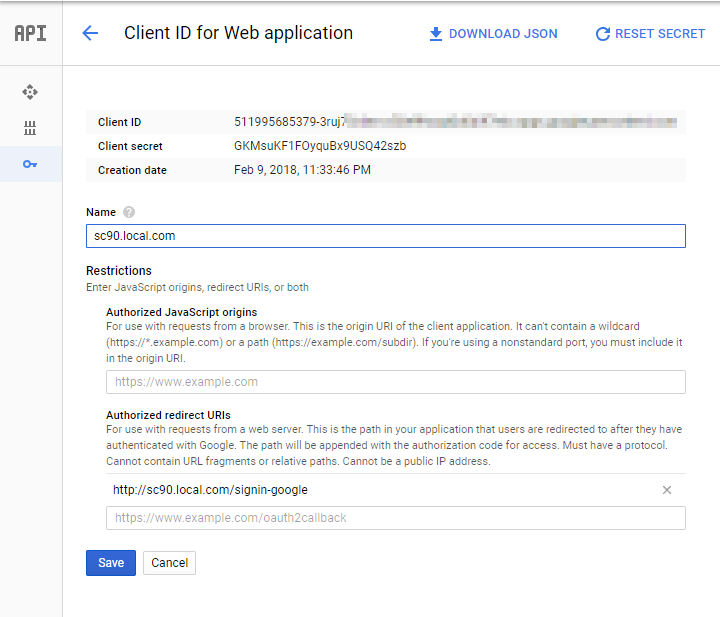
Provide Authorized redirect URIs, as we provided for Facebook, similarly provide for Google. In my case, it’s http://sc90.local.com/signin-google

We have created the application on Facebook and Google for the OAuth Authentication to work properly. Now we have to write the custom processor and pass the proper keys for Facebook and Google identity providers.

Read More