In the previous post, we did the required configuration for the authentication with Google and Facebook Identity Providers. Now we need to write the processor which will connect the Sitecore instance with External Identities. Before that, we need the Client ID and Client Secret keys from Google and App ID and App Secret keys from Facebook.
Create Facebook App
Create the Facebook app – https://developers.facebook.com/
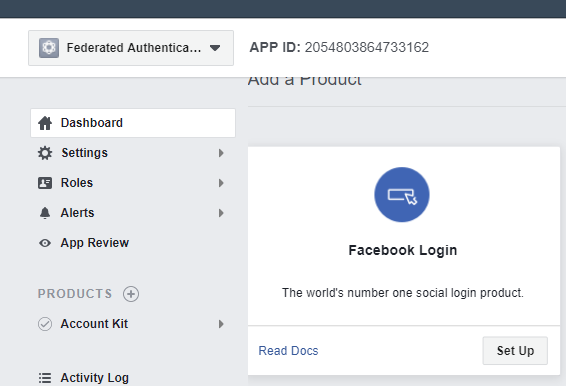
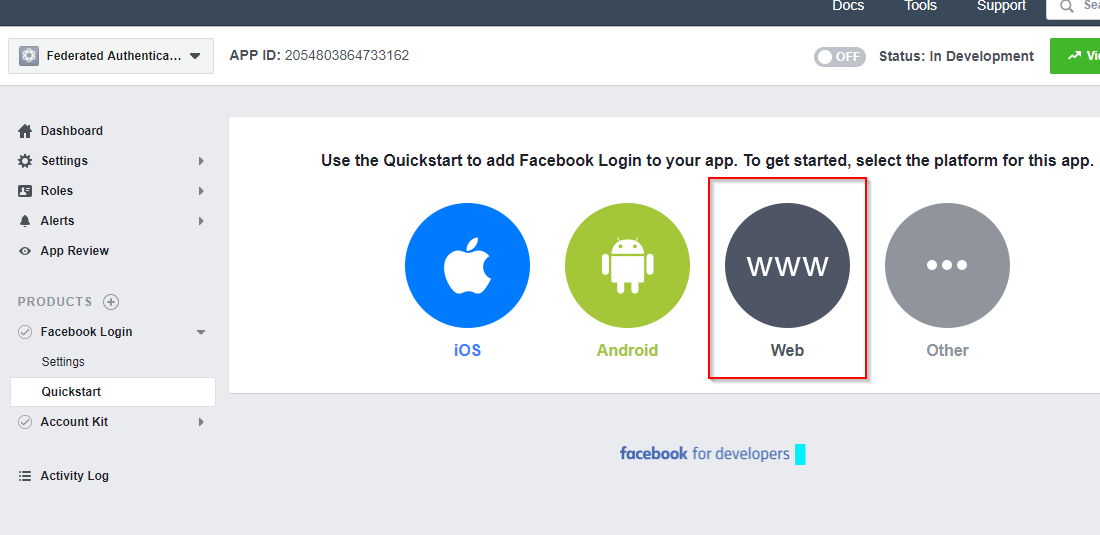
Set up the Facebook Login and create a Web App.

Go to Basic and copy the App ID and App Secret keys. We’ll need it at the later stage. You’ll need to add the Privacy-Policy URL.
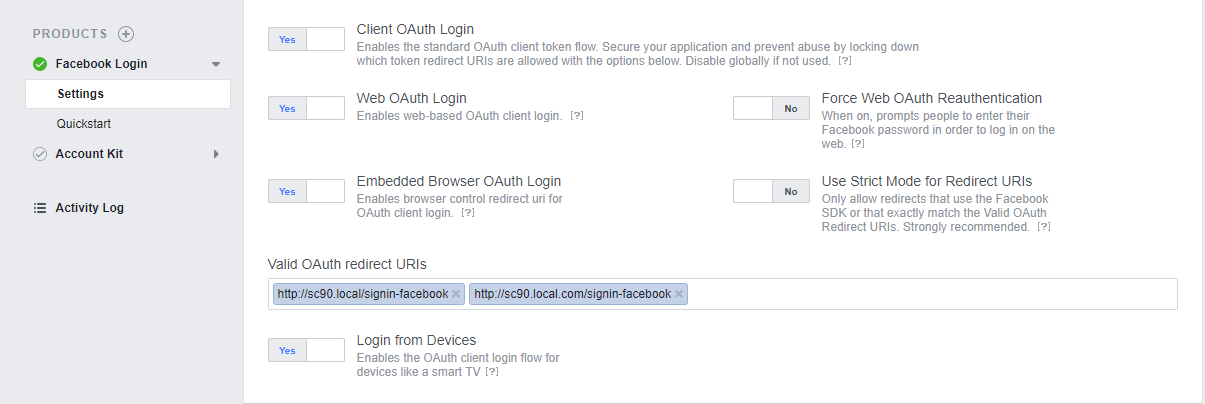
Click on Settings – Enter the proper value for Valid OAuth redirect URIs. This will be <hostname> + “/signin-” + <identityprovidername>. In my case it’s https://sc90.local.com/signin-facebook
Create Google App
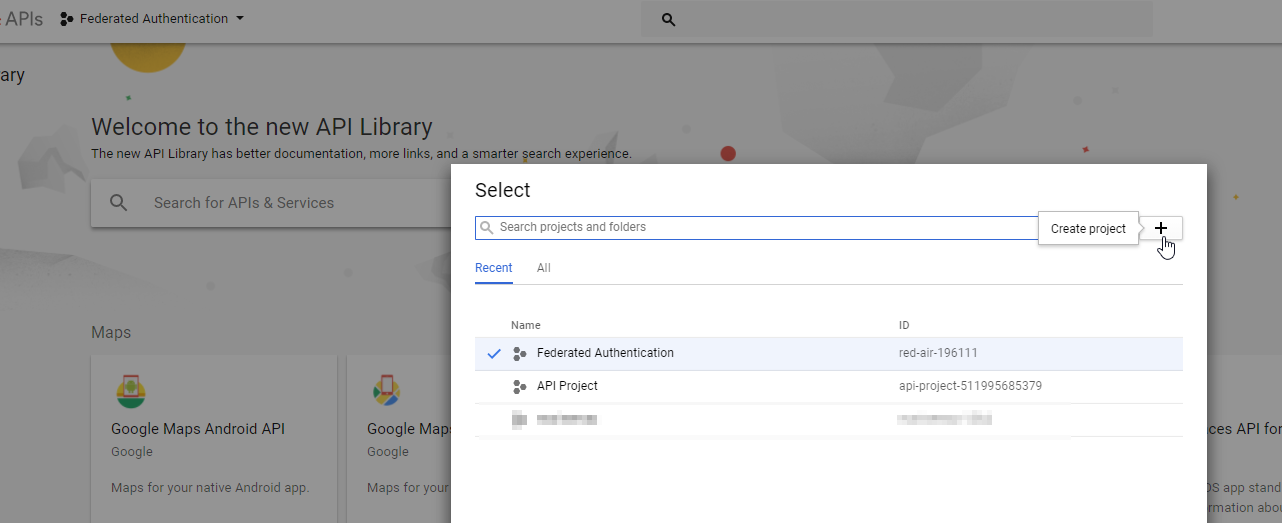
Create the new Google Project – https://console.developers.google.com/
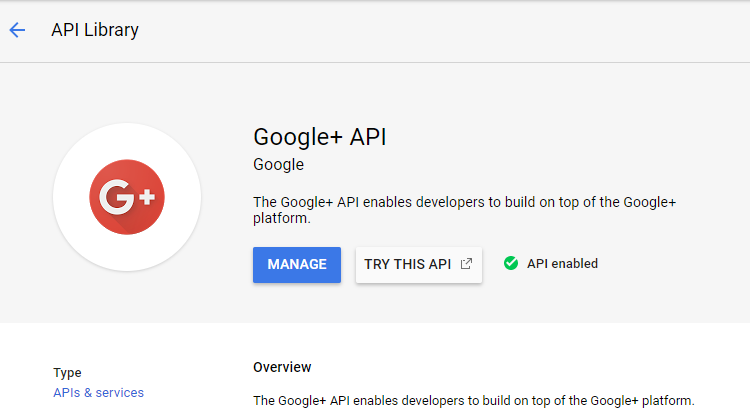
In the API Library, Enable Google+ API. Go to API Library, navigate to Social, you’ll find the Google+API. Select and Click on Enable. Our google app is now enabled for the OAuth Authentication.
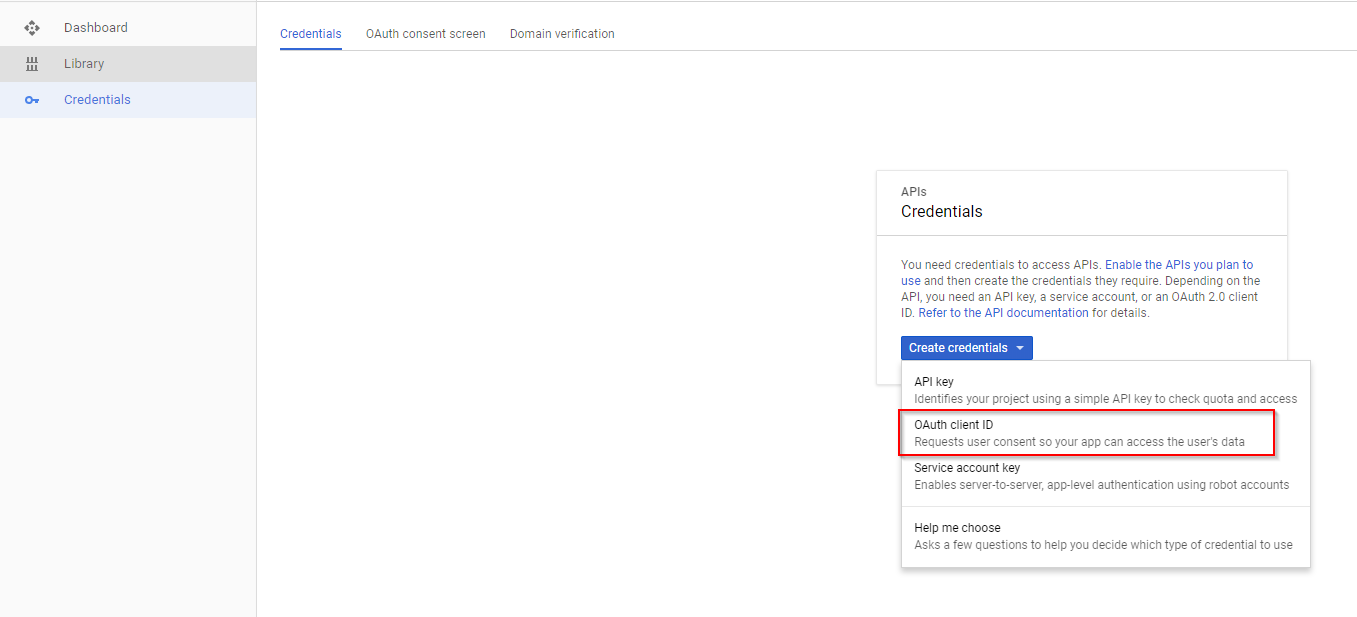
Navigate to Credentials and Create OAuth client ID credentials — This will provide you the Client ID and Secret Key.
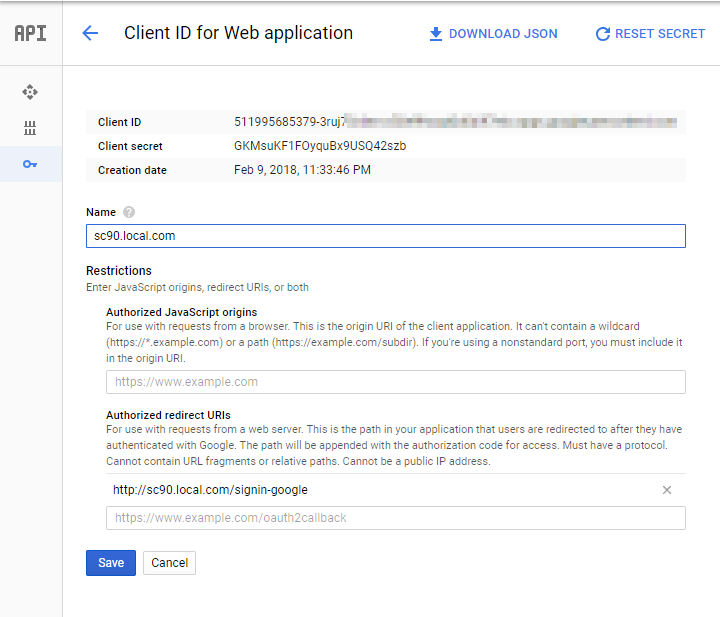
Provide Authorized redirect URIs, as we provided for Facebook, similarly provide for Google. In my case, it’s http://sc90.local.com/signin-google
We have created the application on Facebook and Google for the OAuth Authentication to work properly. Now we have to write the custom processor and pass the proper keys for Facebook and Google identity providers.
Write the code
Create a visual studio project by creating a new MVC Empty project and remove all unnecessary files and folders. I’m creating a new project for this post, you can write the code in your existing solution.
Go to Manage NuGet Packages for Solution. Add NuGet packages:
Microsoft.Owin
Microsoft.Owin.Security.Google
Microsoft.Owin.Security.Facebook
Sitecore Nuget package management system:
Sitecore.Client.NoReferences
Sitecore.Kernel.NoReferences
Sitecore.Owin.Authentication.NoReferences
Sitecore.Owin.Authentication.Client.NoReferences
Sitecore.Owin.NoReferences
Note: I’m using Sitecore Feed for using Sitecore Nuget package management system. For more information, refer Sitecore public NuGet feed FAQ
For each identity provider, we have to create a separate class and inherit with IdentityProvidersProcessor. I’ve created a blank solution with the name OWINAuthentication. Created a folder IdentityProviders and created two classes for each identity provider, FacebookAuthentication and GoogleAuthentication and inherit from IdentityProvidersProcessor.

FacebookAuthentication Class:
using Microsoft.Owin;
using Microsoft.Owin.Security.Facebook;
using Owin;
using Sitecore.Diagnostics;
using Sitecore.Owin.Authentication.Configuration;
using Sitecore.Owin.Authentication.Pipelines.IdentityProviders;
using Sitecore.Owin.Authentication.Services;
using System.Security.Claims;
using System.Web;

namespace OWINAuthentication.IdentityProviders
{
    //Facebook Authentication
    public class FacebookAuthentication : IdentityProvidersProcessor
    {
        public FacebookAuthentication(FederatedAuthenticationConfiguration federatedAuthenticationConfiguration) : base(federatedAuthenticationConfiguration)
        {
        }

        /// <summary>
        /// Identityprovidr name. Has to match the configuration
        /// </summary>
        protected override string IdentityProviderName
        {
            get { return "Facebook"; }
        }

        protected override void ProcessCore(IdentityProvidersArgs args)
        {
            Assert.ArgumentNotNull(args, "args");
            IdentityProvider identityProvider = this.GetIdentityProvider();
            string authenticationType = this.GetAuthenticationType();

            var facebookProvider = new FacebookAuthenticationProvider()
            {
                OnAuthenticated = (context) =>
                {
                    // transform all claims
                    ClaimsIdentity identity = context.Identity;
                    foreach (Transformation current in identityProvider.Transformations)
                    {
                        current.Transform(identity, new TransformationContext(FederatedAuthenticationConfiguration, identityProvider));
                    }
                    return System.Threading.Tasks.Task.FromResult(0);
                },

                OnReturnEndpoint = (context) =>
                {
                    if (context.Request.Query["state"] != null)
                    {
                        var state = HttpUtility.ParseQueryString(context.Request.Query["state"]);
                        //todo: do something with it.
                    }

                    return System.Threading.Tasks.Task.FromResult(0);
                }
            };

            FacebookAuthenticationOptions options = new FacebookAuthenticationOptions();
            options.AppId = "2054803864733162";
            options.AppSecret = "c73b086a7fcf315ae7c5ce21877d8798";
            options.Provider = facebookProvider;
            options.CallbackPath = new PathString("/signin-facebook");
            options.Fields.Add("name");
            options.Fields.Add("email");
            options.Scope.Add("email");
            args.App.UseFacebookAuthentication(options);

        }
    }
}
Identity Provider Name – It must match the name we gave in the Config file.
OnAuthenticated event will be triggered when the Authentication is successful and it’s an authenticated user.
OnReturnEndPoint event gets triggered after the OnAuthenticated event and it will be called even if the user is authenticated or not.
FacebookAuthenticationOptions – Specify all the required information, App ID, AppSecret, Provider, CallbackPath, Field and Scope to get an email address from the user.
Scope – A list of Permissions to request from the person using your app. By default, it asks the user for public_profile information, which doesn’t include email permissions.
Similarly, add the code to process Google Authentication and specify the required details at GoogleOAuth2AuthenticationOptions.
using Microsoft.Owin;
using Microsoft.Owin.Security.Google;
using Owin;
using Sitecore.Diagnostics;
using Sitecore.Owin.Authentication.Configuration;
using Sitecore.Owin.Authentication.Pipelines.IdentityProviders;
using Sitecore.Owin.Authentication.Services;
using System.Security.Claims;
using System.Web;

namespace OWINAuthentication.IdentityProviders
{
    public class GoogleAuthentication : IdentityProvidersProcessor
    {
        public GoogleAuthentication(FederatedAuthenticationConfiguration federatedAuthenticationConfiguration) : base(federatedAuthenticationConfiguration)
        {

        }

        /// <summary>
        /// Identityprovidr name. Has to match the configuration
        /// </summary>
        protected override string IdentityProviderName
        {
            get { return "Google"; }
        }

        protected override void ProcessCore(IdentityProvidersArgs args)
        {
            Assert.ArgumentNotNull(args, "args");
            IdentityProvider identityProvider = this.GetIdentityProvider();
            string authenticationType = this.GetAuthenticationType();

            //Google
            var googleProvider = new GoogleOAuth2AuthenticationProvider()
            {
                OnAuthenticated = (context) =>
                {
                    // transform all claims
                    ClaimsIdentity identity = context.Identity;
                    foreach (Transformation current in identityProvider.Transformations)
                    {
                        current.Transform(identity, new TransformationContext(FederatedAuthenticationConfiguration, identityProvider));
                    }
                    return System.Threading.Tasks.Task.FromResult(0);
                },

                OnReturnEndpoint = (context) =>
                {
                    if (context.Request.Query["state"] != null)
                    {
                        var state = HttpUtility.ParseQueryString(context.Request.Query["state"]);
                        //todo: do something with it.
                    }

                    return System.Threading.Tasks.Task.FromResult(0);
                }
            };

            GoogleOAuth2AuthenticationOptions googleOptions = new GoogleOAuth2AuthenticationOptions();
            googleOptions.ClientId = "56239192454-rab6l2919d24umtvv2lim3te6h8rgo77.apps.googleusercontent.com";
            googleOptions.ClientSecret = "38AbD8xxxxxxxxxxxxxxxxxx";
            googleOptions.Provider = googleProvider;
            googleOptions.CallbackPath = new PathString("/signin-google");

            args.App.UseGoogleAuthentication(googleOptions);
        }
    }
}
Build and Publish the Solution. Make sure Microsoft.Owin, Microsoft.Owin.Security.Google and Microsoft.Owin.Security.Facebook DLLs are copied in your web-root Sitecore Instance BIN.
Integrate with the owin.identityProviders Pipeline
Now we just have to do one last step. Integrate the processors with <owin.identityProviders> Pipeline.
<pipelines>
    <owin.identityProviders>
        <!-- Processors for configuring providers. Each provider must have its own processor-->
        <processor type="OWINAuthentication.IdentityProviders.FacebookAuthentication, OWINAuthentication" resolve="true" />
	<processor type="OWINAuthentication.IdentityProviders.GoogleAuthentication, OWINAuthentication" resolve="true" />
    </owin.identityProviders>
</pipelines>
Specify properly the fully qualified class name and the namespace.
That’s it. Now you can test external login in Sitecore. 🙂
Source Code: GitHub

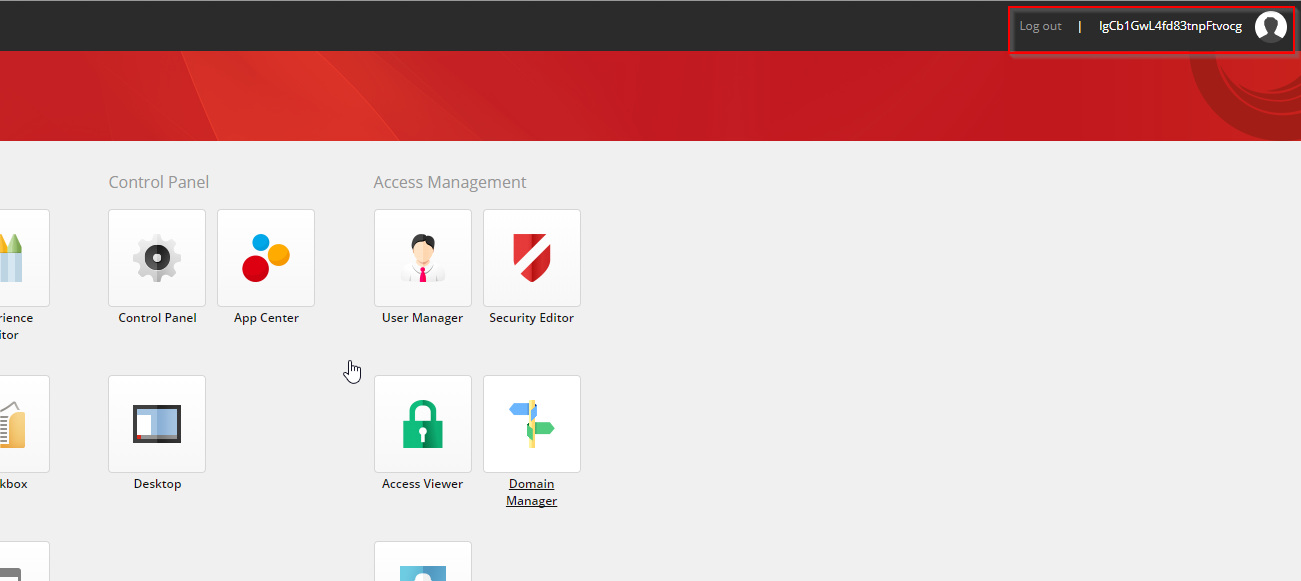
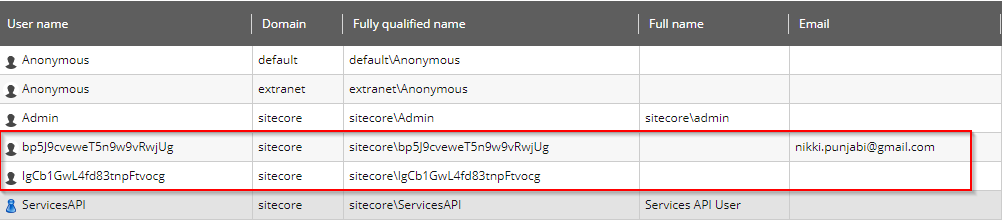
Now, if you see User Manager — You’ll find that it creates a username with some Hash code.
I then tried to debug and understand how the username is created in Sitecore. I took the help of my free friend ILSpy and observed the CreateUniqueUserName method in DefaultExternalUserBuilder class.
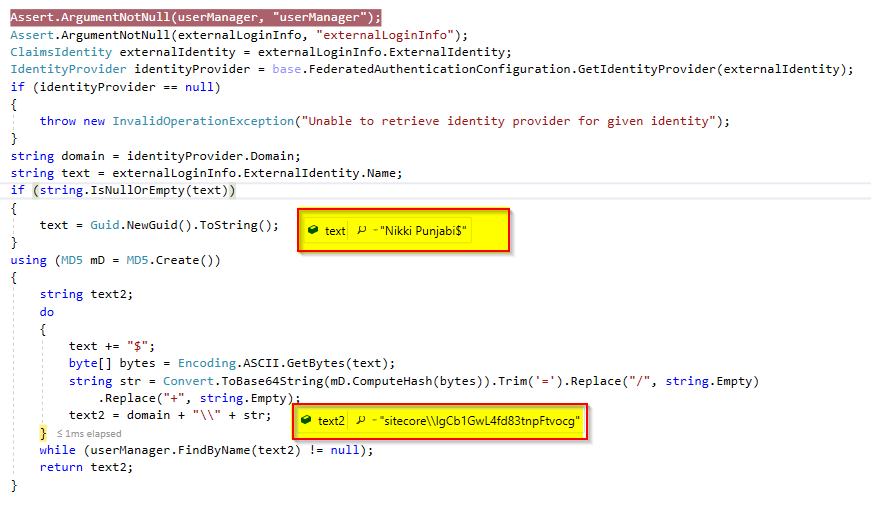
It first generates the array of byte based on the username and then converts it to base64string which provide such string as you see in the username. In my case I was having the same name Nikki Punjabi for Facebook and Google and I was seeing different string for each, then after debugging I found, it is while loop which will initially get the first user and then again hit the do-while loop to generate the new string, which will have the new value in text variable – “Nikki Punjabi$$” when the loop is executing the second time and so the new user-generated was – sitecore\\bp5J9cveweT5n9w9vRwjUg [As you can see in above screen shot]
In the next post we’ll see more about Claim Identity Providers for logging proper user information in the Sitecore User Profile also we’ll create the user with Sitecore\\user-email-address
Happy Authentication! 🙂
options.CookieManager = base.CookieManager must be set. Otherwise, it may lead to unexpected behavior, especially in Sitecore 9.1.