Hey Sitecore Devs,
This module is for you. It will help you track Sitecore items which you worked on and create a package of it easily. If you want to skip any item, you can just ignore it and that will never be tracked. This will be helpful when you are working on many items in the Sitecore and once you are done creating the module you can easily package it using Sitecore Package Assistant.

The idea for this module popped to Saad Ansari and he shared it via blog post: Sitecore Package Creator – The untracked/unpackaged changes while creating the packages
I took his views and started conversation with him for creating a module of his idea. We started one by one with the requirements and implimented this module.
Pre-requisite: This module works based on Sitecore PowerShell Extensions. So before you install this module it is must to have Sitecore PowerShell Extensions.
Download: Sitecore Package Assistant
Source Code: GitHub
This module will:
- Track item on items created and saved.
- It will show an icon in the gutter for the items which are getting track.
- You can track/untrack any item once it is updated.
- You can easily create the package of the items which have been tracked and on complete, the tracking is removed.
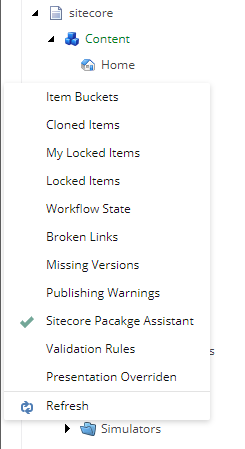
After installation, you’ll have to first enable Sitecore Package Assistant in the Sitecore Gutter.
Now, as you work on the Sitecore items, which ever items you have added/updated, you’ll start seeing an ![]() icon. On hover, you’ll see a tool-tip: This item is being tracked by SPA. Click to untrack. You can click on the gutter icon and that item will be added as untrack item. You’ll see an
icon. On hover, you’ll see a tool-tip: This item is being tracked by SPA. Click to untrack. You can click on the gutter icon and that item will be added as untrack item. You’ll see an ![]() icon.
icon.
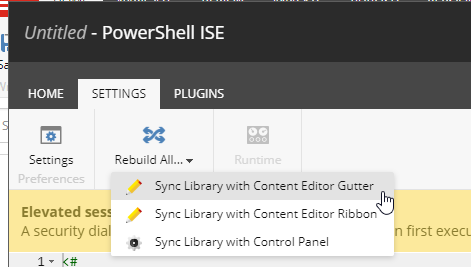
In case you don’t see the icon in the Sitecore Gutter. Open Sitecore PowerShell ISE, go to Settings and Rebuild Content Editor Gutter.
The details about the item track/untrack is logged at: /sitecore/system/Modules/Sitecore Package Assistant/SPA
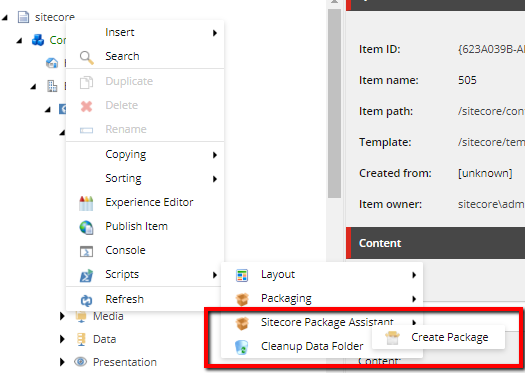
Once you are done with your functionality in the Sitecore, you can right click on any item and create a package of tracked items using Sitecore Package Assistant. It will give you an option to Download the Package.
This will be helpful for the Devs, so that you don’t miss any item while creating a Sitecore Package.
You can also refer Saad Ansari’s blog: Sitecore Package Assistant — Where you can know more about this module in very detail and benefits of it.
There is much more that can be done. Your suggessions/feedback/ideas are worth sharing in the comments below.
Happy Sitecoring!