Email Campaigns | Oracle Eloqua Series | Part 2

The main reason you go with Eloqua is Email Campaigns which is obvious. A campaign allows you to give your contacts an engaging, personalized, and unique experience. In this post, we’ll see different types of Email Campaigns and what kinds of scenarios you can play around with on Eloqua.

You need to keep the following things in place before sending an email:

  • Email:
    • Header
    • Email Body
    • Footer
  • Email is associated with the following:
    • Email Preference Center: To allow the user to provide more preferences to get their interest, country, and so on.
    • Newsletter Unsubscribe: This is a mandate by default for all newsletters.
    • Email Group: To define to which group the user will be unsubscribed. With email groups, you can classify emails for different audiences and allow subscribers and unsubscribers within those specific newsletters, or you can use it for different brands. This has to be used very carefully. If I unsubscribe from one brand I should still receive an email from other brands from the same Eloqua instance. We have a proper strategy in place defining when and in what case we need to define an email group. If you are going to start working on Eloqua then you need to define the ground rules of creating an Email Group in the beginning. Email groups can also be helpful to create reports.
    • Segment – To define to which audience this email should reach. Segmentation is a very important topic and needs a detailed understanding of how you can make use of your data to properly define the segments. Our email campaign requirements dictate the types of segments we create for different audiences. In order to send an email campaign, it is necessary to determine what the requirements are ahead of time. For example, we create a specific segment to send a monthly newsletter to a certain audience, the different segments for sending an email based on user interest, and so on. Recommend you to go through the Eloqua guide for segmentation and if you have any queries you can reach out to me.
      If you are already familiar with segmentation on Mailchimp then you can easily understand this on Eloqua but one thing to keep in mind here is that Mailchimp allows you to store the same email address in multiple audiences while on Eloqua it doesn’t work that way. In Eloqua, an Email Address is a unique identifier for each contact. And you create segments based on your user data and to which brand (Email Group) they are subscribed.
Read More

Oracle Eloqua – Marketing Automation Review | Part 1

As a result of this blog post, you will gain a better understanding of how Oracle Eloqua works as well as what some of its advantages and disadvantages are.

Oracle Eloqua

Having worked on Eloqua for over 4 years now, I hope my experience with the tool will help you better understand it. Moreover, I am an Oracle Eloqua CX Marketing 2020 Certified Implementation Specialist. 

I would like to clarify that Oracle Eloqua is a Marketing Automation tool and not a CRM. Often, people claim Oracle Eloqua is a CRM tool, but it is not.

Around 25+ of my colleagues are responsible for creating and writing emails directly on Eloqua, which I think is a very good point. Our team is responsible for segmenting, grouping, and sending B2B/B2C emails to the right people. Email communication is handled entirely through Eloqua, including transactional and marketing emails. Day-to-day, we do a lot of stuff using Eloqua, including a lot of automation and reporting. In the upcoming blog post, I will describe it in more detail. Some features on Eloqua are extra cost features, so we do not use them.

Read More

Sitecore Submit Action – Send Notification Email using Sitecore Dispatch Manager

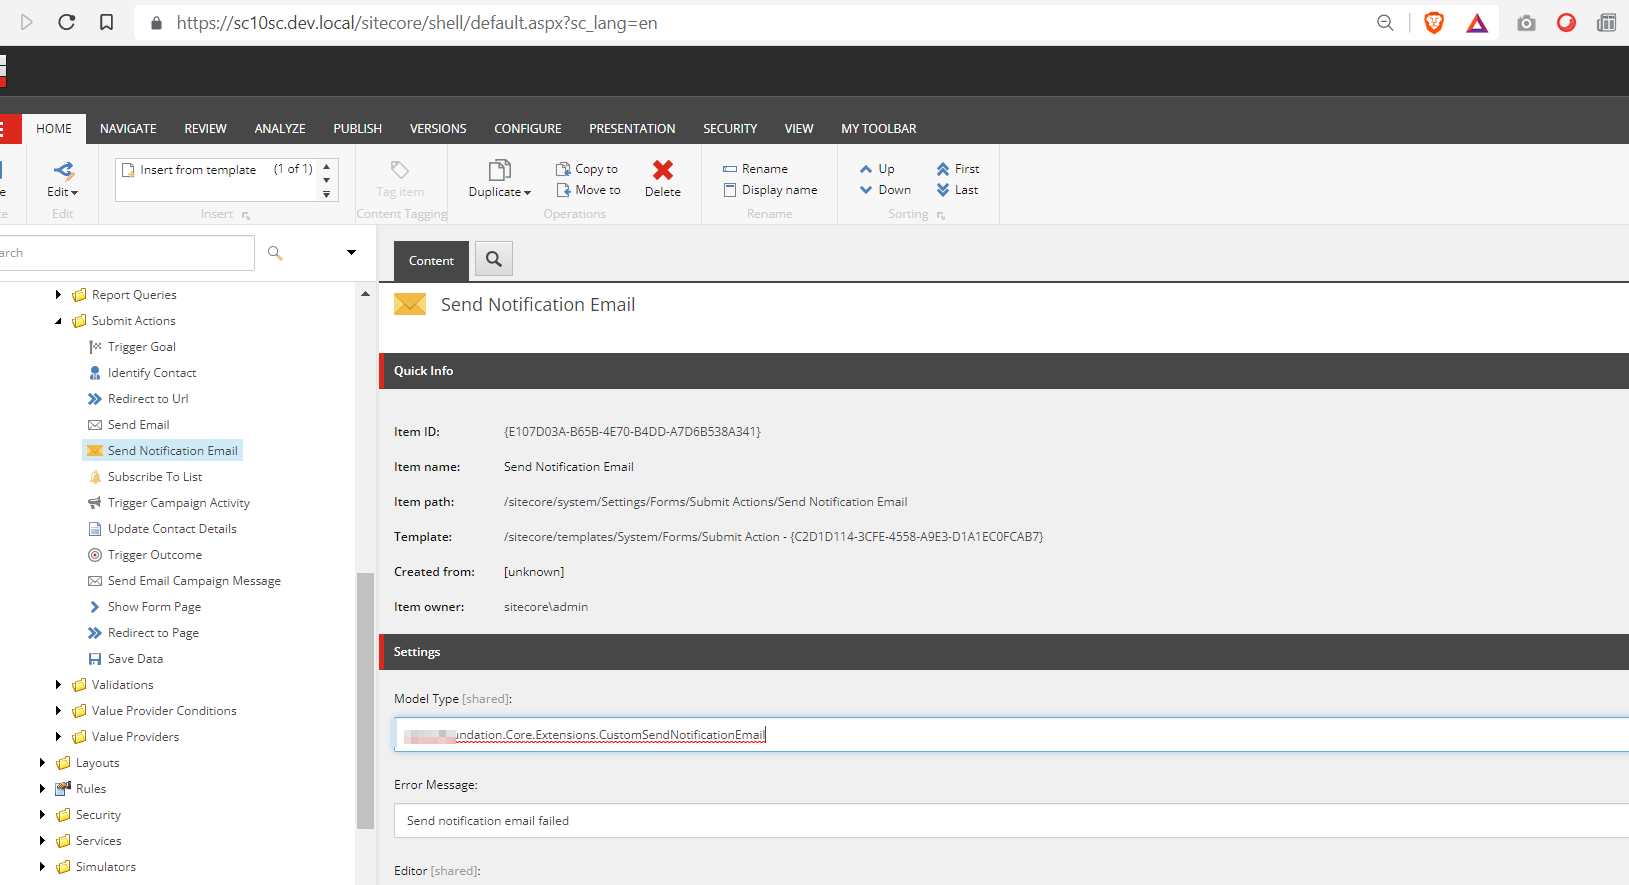
I’m going to walk you through how to use Sitecore Dispatch Manager to implement Send Notification Email for Submit Action in Sitecore Form Submissions.

Let’s go ahead and create Form Submit Action.

Sitecore Item Path: /sitecore/system/Settings/Forms/Submit Actions/Send Notification Email

Add “Send Notification Email” action on the Submit button.

Read More

TypeScript with Sitecore JSS in less than 30 minutes

Hello friends,

Since you’re here, I assume you’d like to enable TypeScript with the Sitecore JSS application. It’s easy and simple.

We can say that ‘TypeScript is like JavaScript, but with types.’ It helps make our code easier to read and avoid errors that could become debugging nightmares.

Here are a few of the advantages of TypeScript:

  • Great tooling support with IntelliSense
  • The ability to compile down to a version of JavaScript that runs on all browsers
  • Typescript is purely object-oriented programming which means it is a programming paradigm based on the concepts of objects.
  • One of the biggest advantages of Typescript is its code completion and intelligence.

In order to enable TypeScript with Sitecore JSS application, see the video tutorials below:

TypeScript with Sitecore JSS – Part – 1:

TypeScript with Sitecore JSS – Part – 2:

To stay updated, like and subscribe to my YouTube channel for more Sitecore tutorials.

[Source references]:

While creating my videos, I referenced two good blog posts from the Sitecore community:

Happy Coding!

5 Sitecore Interview Tips by Nilesh Thakkar

Are you looking for a change and preparing for an Interview OR Do you need any tips for Sitecore Interview?

If so, then you must watch this video before appearing for an Interview. I got a chance to have a quick chat with Nilesh about the interview tips and see what he says in the video.

Here are the Top 5 Tips shared by Nilesh Thakkar:

  1. Know More About Your Interviewer
  2. Show Your Problem Solving Skills
  3. Know How Sitecore Works Behind The Scenes
  4. Show Your Right Attitude
  5. How Do You Handle Conflicting Situation?

Happy Job Hunting!

Sitecore Watch Face | Google Wear OS

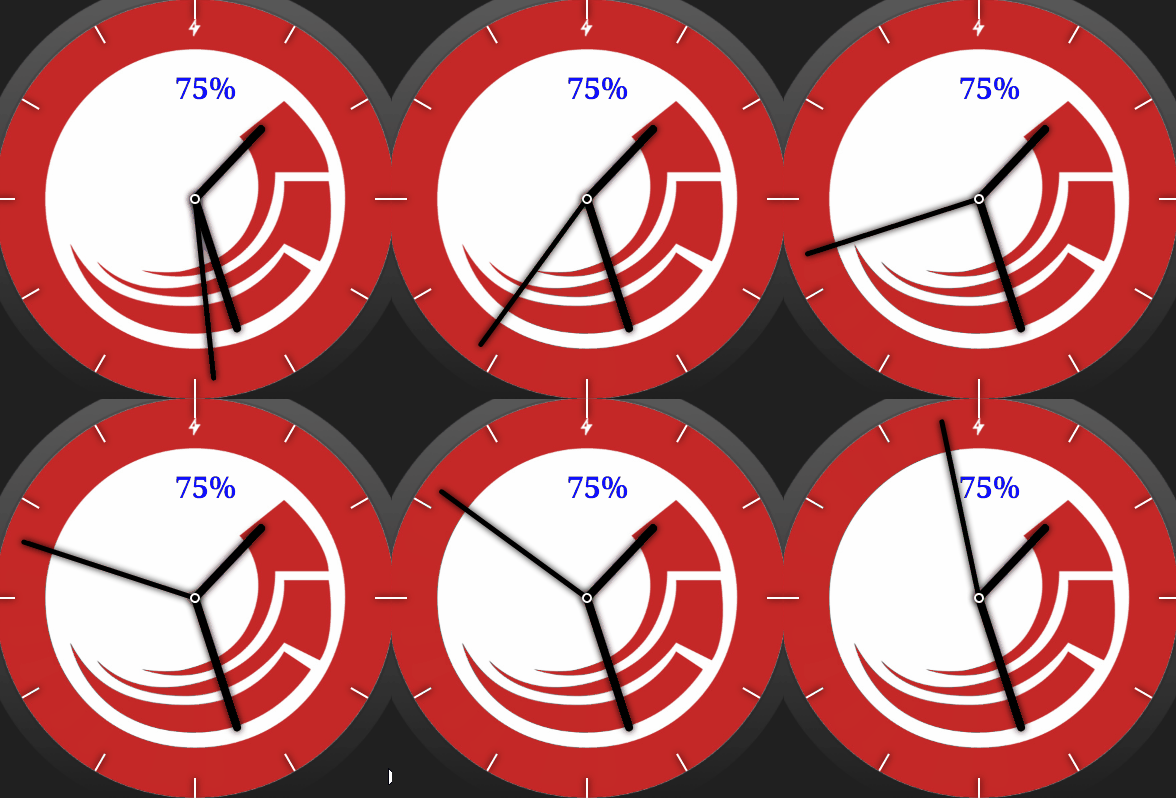
After buying Google Wear OS-powered smartwatch, an idea came to my mind to personalize the watch face with Sitecore logo.

As it’s round, a watch face will definitely fit the round dial.

Wear OS Watch Face App is now on the Play Store for you as well, if you are having Google Wear-OS powered smartwatch — go and check out this simply designed watch face.

Sitecore Watch Face

On your watch Play Store, search for Sitecore and you’ll find Sitecore Watch Face.

https://play.google.com/store/apps/details?id=com.nikkipunjabi.sitecorewatchfaces&rdid=com.nikkipunjabi.sitecorewatchfaces

If you know Android Development and would like to contribute, you are free to play around with the project.

https://github.com/nikkipunjabi/SitecoreWatchFace

The comment section is open for your suggestions/feedback. 🙂

Enjoy Sitecore Watch Face!  😉

Automate Sitecore Workflow Approval Process and Email Report

Automation is the key to tech. It is the process by which tasks which were previously done by humans, are performed entirely by machines. In this post, I shall take you through how to automate Sitecore Workflow Approval for a more efficient way of working.

Why do you need Auto Approve?

Every project has a different set of requirements, and one of the requirements I was tasked to do was to automate the Workflow approval process. You may think, what is the purpose of having a workflow if you want things to be approved automatically. Well, as mentioned earlier, there are different scenarios that may deem such a requirement necessary.

It is not because of the risk in approving content that may be incorrect. It is due to that fact that there are a lot of items in the workflow coming in from the translation agency and in order to verify the content, it requires physical approval to push on to Stage. The automation to be implemented here will help us to know that translations are coming in and send it to the respective content team member to verify. Once verification is done, then in one simple, a user can push it Live.

Read More

Sitecore and GatherContent Integration | Part-2 | Challenges and Solution

In an earlier post, I wrote an overview on Sitecore and GatherContent Integration Overview and the challenges we faced. In this post, you’ll see many other challenges that we faced with GatherContent and Sitecore Integration and how to crack them.

I got the source code of GatherContent Module thanks to the devs. It’s also available on GitHub.

We faced many challenges with it, but we managed to fix the issues one by one and get it to work. Some of them were fixed by the GatherContent Dev Team.

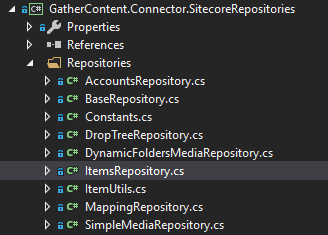
Most of the changes were done in GatherContent.Connector.SitecoreRepositories project.

Challenges:

  1. Different folder structure
  2. Zero-width space
  3. Blank space in GatherContent
  4. Sitecore General link, Number and Checkbox support
  5. Alt Text for Images
  6. Redirect Rule Issue

Read More

Sitecore Package Assistant | Sitecore Module

Hey Sitecore Devs,

This module is for you. It will help you track Sitecore items which you worked on and create a package of it easily. If you want to skip any item, you can just ignore it and that will never be tracked. This will be helpful when you are working on many items in the Sitecore and once you are done creating the module you can easily package it using Sitecore Package Assistant.

The idea for this module popped to Saad Ansari and he shared it via blog post: Sitecore Package Creator – The untracked/unpackaged changes while creating the packages

I took his views and started conversation with him for creating a module of his idea. We started one by one with the requirements and implimented this module.

Pre-requisite: This module works based on Sitecore PowerShell Extensions. So before you install this module it is must to have Sitecore PowerShell Extensions.

Download: Sitecore Package Assistant

Source Code: GitHub

This module will:

  • Track item on items created and saved.
  • It will show an icon in the gutter for the items which are getting track.
  • You can track/untrack any item once it is updated.
  • You can easily create the package of the items which have been tracked and on complete, the tracking is removed.

After installation, you’ll have to first enable Sitecore Package Assistant in the Sitecore Gutter.

Now, as you work on the Sitecore items, which ever items you have added/updated, you’ll start seeing an  icon. On hover, you’ll see a tool-tip: This item is being tracked by SPA. Click to untrack. You can click on the gutter icon and that item will be added as untrack item. You’ll see an  icon.

In case you don’t see the icon in the Sitecore Gutter. Open Sitecore PowerShell ISE, go to Settings and Rebuild Content Editor Gutter.

The details about the item track/untrack is logged at: /sitecore/system/Modules/Sitecore Package Assistant/SPA

Once you are done with your functionality in the Sitecore, you can right click on any item and create a package of tracked items using Sitecore Package Assistant. It will give you an option to Download the Package.

This will be helpful for the Devs, so that you don’t miss any item while creating a Sitecore Package.

You can also refer Saad Ansari’s blog: Sitecore Package Assistant — Where you can know more about this module in very detail and benefits of it.

There is much more that can be done. Your suggessions/feedback/ideas are worth sharing in the comments below.

Happy Sitecoring!