Sitecore Federated Authentication – Part 3 – Sitecore User and Claims Identity

If you have followed my previous post, I hope you should now be able to login to Sitecore using External Identity Provider. In this post, we will see more about Claims Identity and store required values in Sitecore User Profile also we’ll create a user with the user’s email address instead of the hash code.

Claims Identity

Claims-based identity is a common way for applications to acquire the identity information they need about users inside their organization, in other organizations, and on the Internet.

Both Google and Facebook provide different claim identity name and value. So in order to bind properly, we have to update the configuration as below. You should explore Facebook Graph API from Facebook and OAuth 2.0 Playground from Google in order to get more information about the user.

In order to store the Full Name value of a user in Sitecore, I was trying to add http://schemas.xmlsoap.org/ws/2005/05/identity/claims/name claim directly to a Full Name Property in Sitecore User Profile for a user in Property Initializer Mapping. But each time I try to add it always store sitecore\APTixbqulVz0qp5xEbNrkA in the Full Name instead storing Nikki Punjabi as a name, which I was getting from both the identity providers as a claim value.

Solution:

Read More

Share

Sitecore Federated Authentication – Part 2 – Google and Facebook App and the Custom Processor

In the previous post, we did the required configuration for the authentication with Google and Facebook Identity Providers. Now we need to write the processor which will connect the Sitecore instance with External Identities. Before that, we need the Client ID and Client Secret keys from Google and App ID and App Secret keys from Facebook.

Create Facebook App

Create the Facebook app – https://developers.facebook.com/

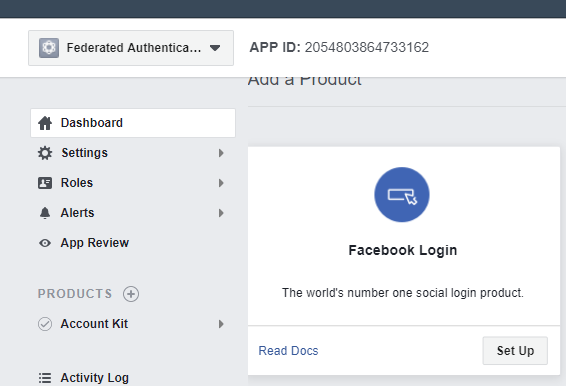
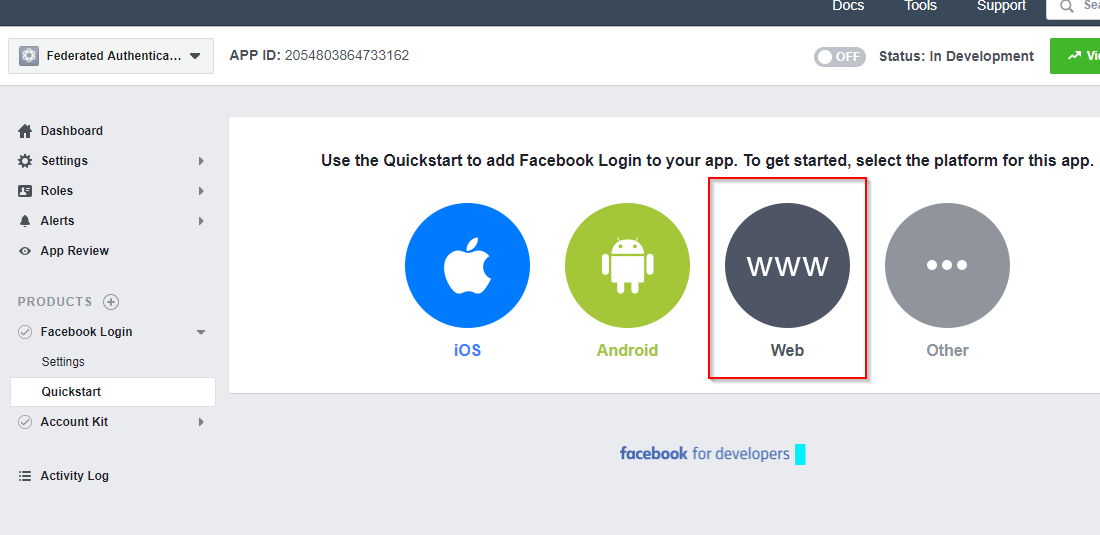
Set up the Facebook Login and create a Web App.

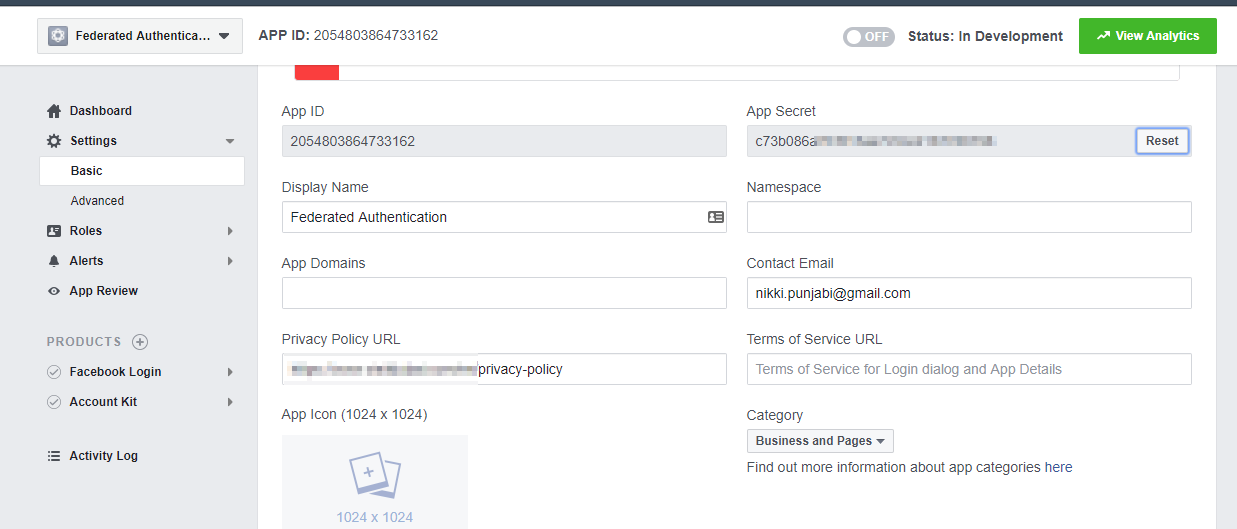
Go to Basic and copy the App ID and App Secret keys. We’ll need it at the later stage. You’ll need to add the Privacy-Policy URL.

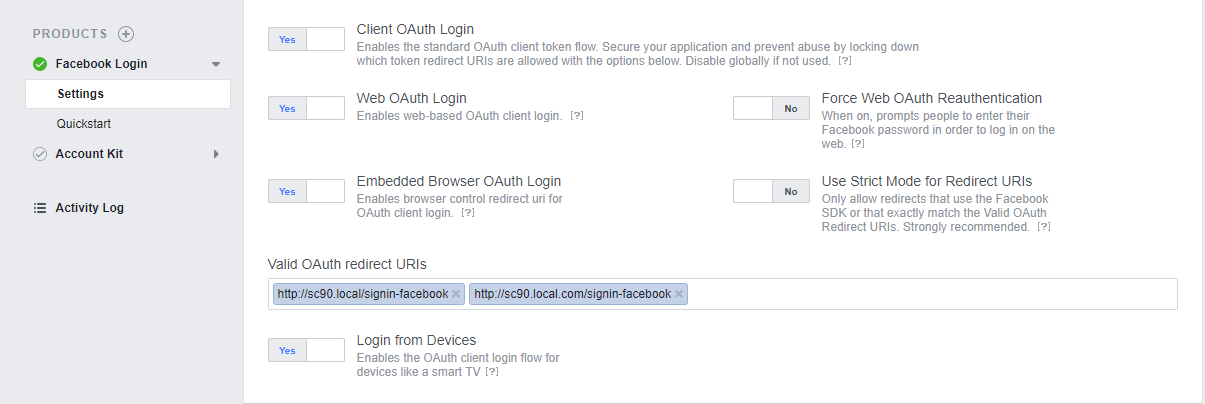
Click on Settings – Enter the proper value for Valid OAuth redirect URIs. This will be <hostname> + “/signin-” + <identityprovidername>. In my case it’s https://sc90.local.com/signin-facebook

Create Google App

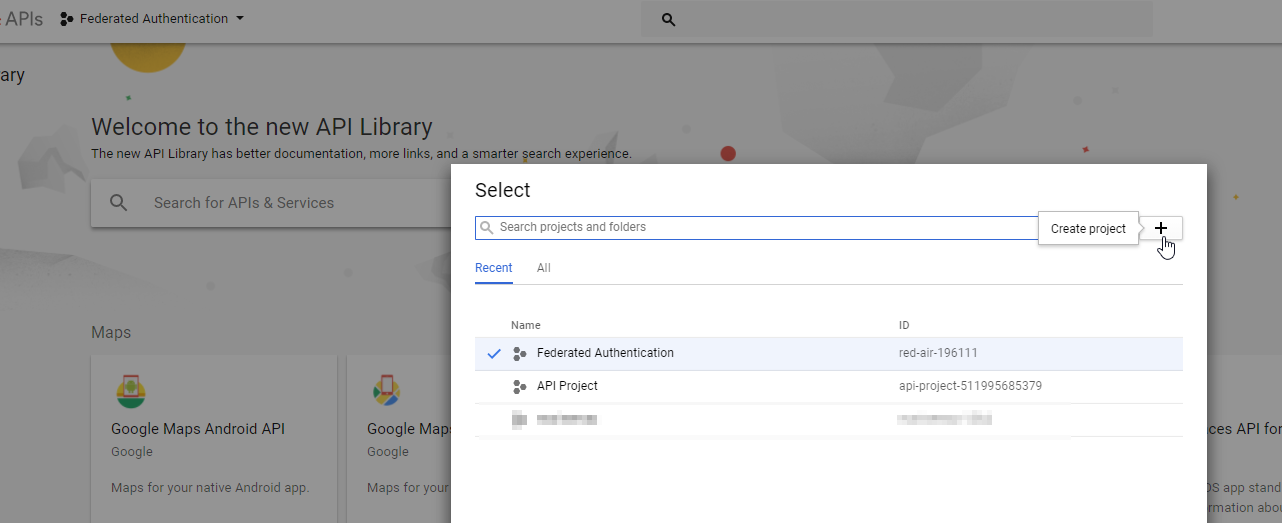
Create the new Google Project – https://console.developers.google.com/

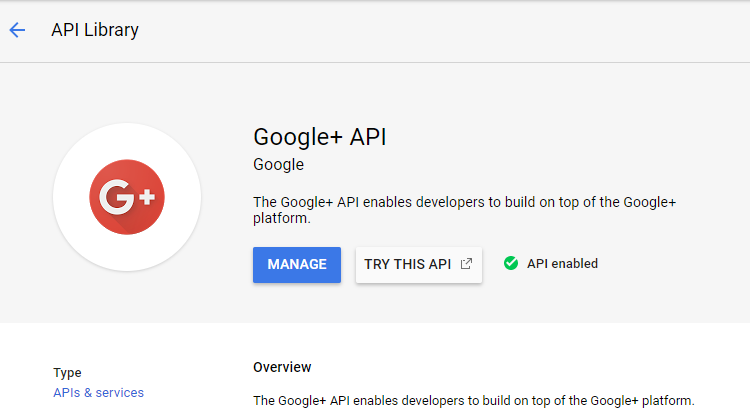
In the API Library, Enable Google+ API. Go to API Library, navigate to Social, you’ll find the Google+API. Select and Click on Enable. Our google app is now enabled for the OAuth Authentication.

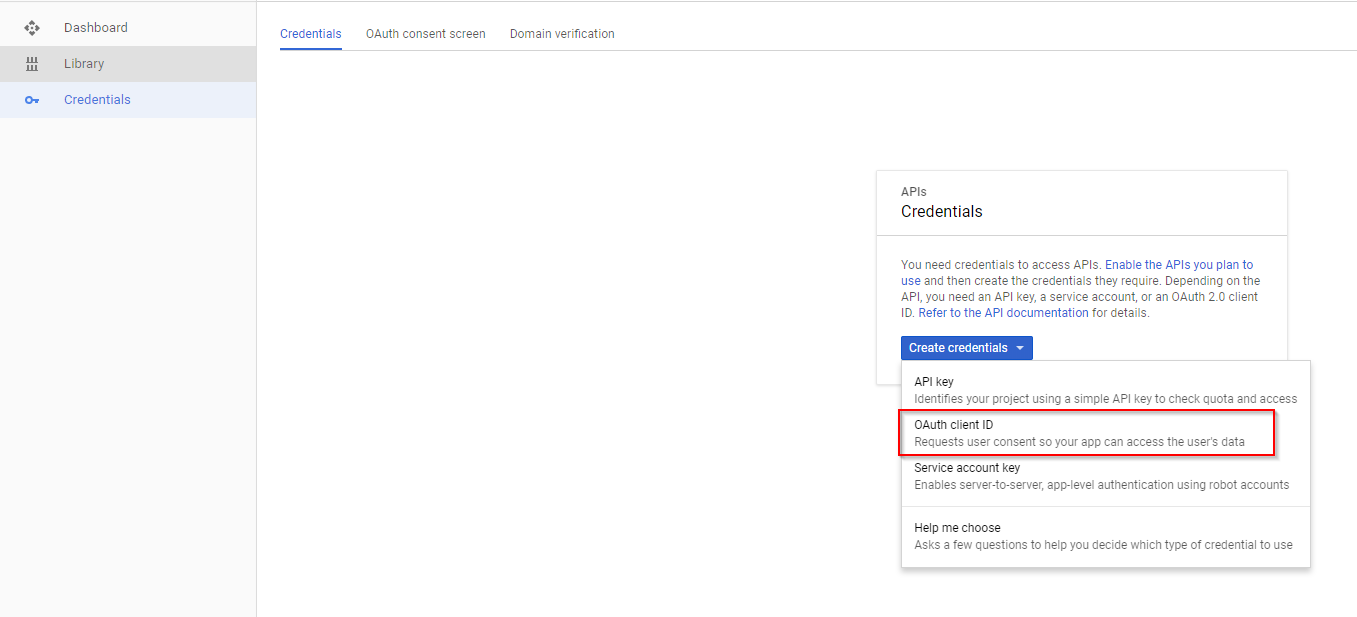
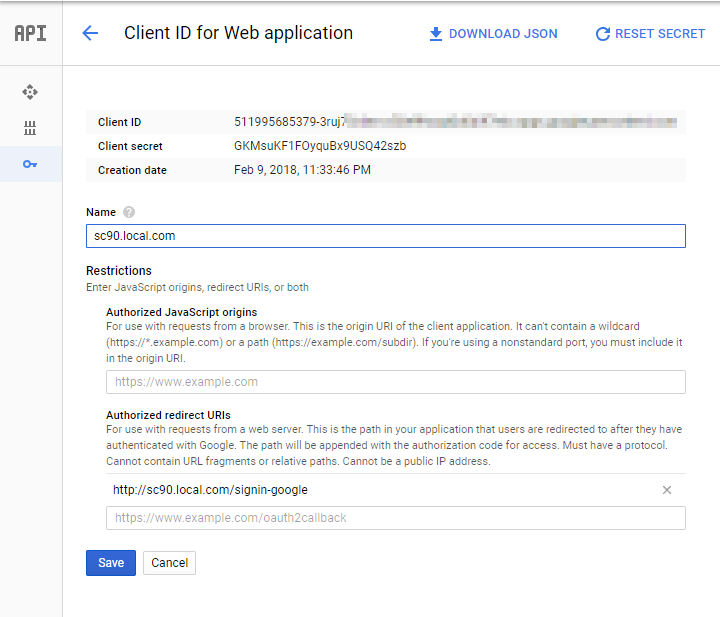
Navigate to Credentials and Create OAuth client ID credentials  — This will provide you the Client ID and Secret Key.

Provide Authorized redirect URIs, as we provided for Facebook, similarly provide for Google. In my case, it’s http://sc90.local.com/signin-google

We have created the application on Facebook and Google for the OAuth Authentication to work properly. Now we have to write the custom processor and pass the proper keys for Facebook and Google identity providers.

Read More

Share

Sitecore Federated Authentication – Part 1 – Authentication with Google and Facebook Identity Providers

Hello Sitecorians,

Hope you all are enjoying the Sitecore Experience 🙂

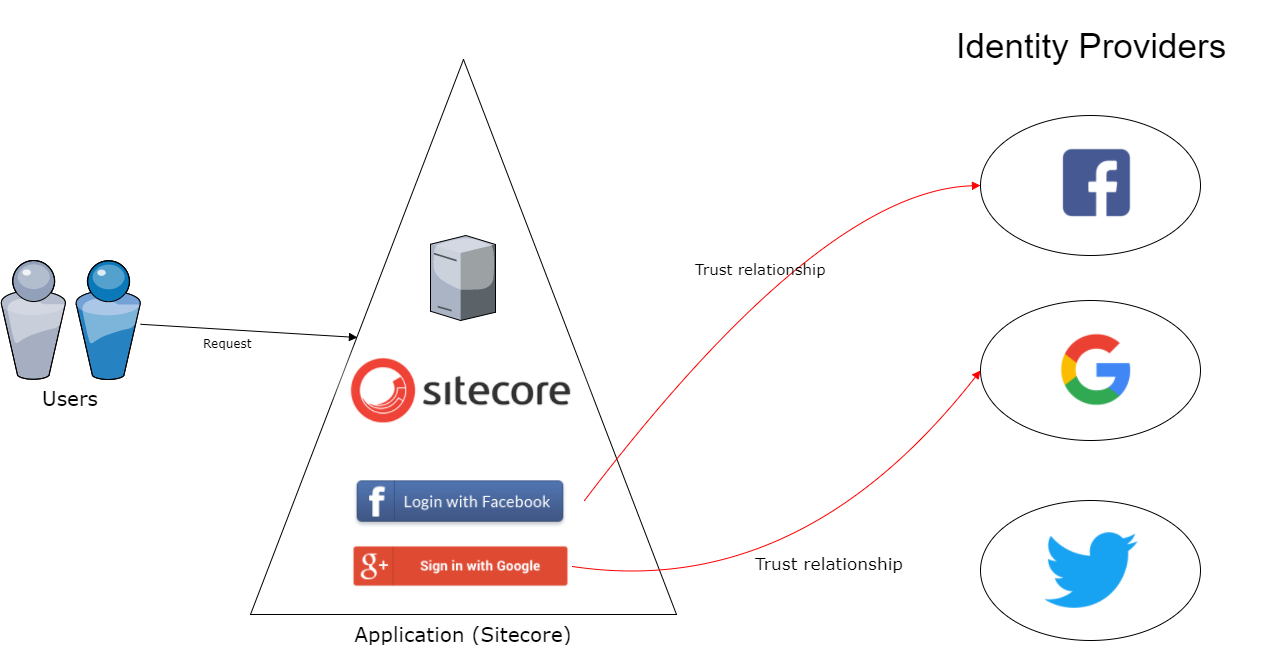
Sitecore has brought about a lot of exciting features in Sitecore 9. One of the features available out of the box is Federated Authentication. I will show you a step by step procedure for implementing Facebook and Google Authentication in Sitecore 9. Before we dive in, it’s always good to understand how the system works and the basic of Federated Authentication System.

So, what’s Authentication?

Authentication is the act of confirming the truth of an attribute of a single piece of data claimed true by an entity. In contrast with identification, which refers to the act of stating or otherwise indicating a claim purportedly attesting to a person or thing’s identity, authentication is the process of actually confirming that identity. It might involve confirming the identity of a person by verifying the authenticity of a website with a digital certificate.

wikipedia

What is OAuth?

OAuth is an Authorization Protocol. It’s an open standard for access delegation, commonly used as a way for Internet users to grant websites or applications access to their information on other websites but without giving them the passwords. This mechanism is used by companies such as Amazon, Google, Facebook, Microsoft and Twitter to permit the users to share information about their accounts with third-party applications or websites.

wikipedia

What’s OWIN Middleware?

It stands for Open Web Interface for .Net. It is a new standardized interface between web servers and applications. It stands as a middleware to be used in a pipeline to handle requests and associated responses. OWIN provides a decoupling layer that allows two frameworks with disparate object models to be used together.

What’s Federated Authentication?

It is also called as Federated Identity or SSO (Single Sign-On)

A federated identity in information technology is the means of linking a person’s electronic identity and attributes, stored across multiple distinct identity management systems.

wikipedia

Sitecore uses the ASP.NET Membership provider for the Sitecore user login. Now we can integrate external identity provider login easily by writing few lines of code. ASP.NET Provides the external identity functionality based on OWIN-Middleware. Sitecore has implemented the OWIN Pipeline very nicely directly into the core platform.

How it works?

Read More

Share

Sitecore 9 Forms – Google reCAPTCHA form element

Hello Sitecorians,

Hope you’re playing around with Sitecore 9 and with the newly introduced cool features in it. Recently, I’ve been exploring Sitecore Forms and implemented the Google Re-captcha form element within the Sitecore forms. Re-captcha is the basic requirement for the form submission process and in order to implement this, we’ve to write some code to it.

Before you go through with this post in detail, you must know the basics of Sitecore Forms.

We will go through step by step process to implement the Google Recaptcha with Sitecore Forms using the custom form element. And will create a generic component which you can use for any other form as well.

Read More

Share

Remove Sitecore Personalization Rules in Bulk

Hello Sitecorians,

Do you need to remove the Personalization Rules for many items in bulk or you would like to learn about that on how to do that quickly? If yes then you are at right place. 🙂

Recently there was a requirement to add personalization throughout the site. So the team did that at the template level for the required pages. But they didn’t want that for the specific node and all it’s child items and wanted to keep that away from all personalization and also it will never be applied to that items. There were approx. 1000+ items, so if they remove it manually for each item — it will take ample amount of time. In order to save the time we created a utility that will do the job in few minutes.

We need the following:

  • Parent Item ID – So that we can iterate through all the child items
  • Rendering/Sub-layout ID
  • Data-Source Value – If you would like to add/update

Let me explain to you what I did in above code.

  1. Get the default device from Sitecore
  2. Iterate through all the child items
  3. Proceed further if an item has any rendering assigned to it
  4. Proceed further if an item has the required rendering, if not then continue with next item
  5. Get the layout definition and the device
  6. Get the rendering and remove all the rules
  7. Save the changes

This is the quickest and easiest solution I found, as there was no Sitecore Powershell installed. If you know any other better solution then do comment below.

Happy Sitecoring!

Share

Add Sitecore Rendering in Bulk

Hey Sitecorians,

Hope you’re doing well with Sitecore.

Many a time we need an option to have some utility that will do the job easily and save the time for the content team to get things done faster and take the bunch out of the plate. One such requirement was for adding the sub-layout/rendering in bulk. I quickly built a utility that will do the job easier for the content team.

A simple utility that will do the following:

  1. Add Rendering
  2. Assign placeholder key to a newly added rendering
  3. Add appropriate data-source value

The utility will ask for the following:

  1. Parent-item ID
  2. Template ID – Which items, defined from the given template need to have the rendering.
  3. Rendering ID
  4. Data-Source Value
  5. Placeholder Key

Read More

Share

Sitecore and GatherContent Integration Overview

The only reason people visit your website is for content. You have it; they want it.

Content plays a vital role on the website. Thus, when designing a website, we have to ensure that every silver of content – from microscopic blocks of text to enormous banner images and everything in between – is included.

Every website will try to have a rich content, which engages user to read. It will be packed with thousands of words, images, and interactions. How do we ensure that when a new website launch, it’s filled with right content in the right places?

GatherContent – that’s how.

Read More

Share

Sitecore SXA | How to Export, Update and Import a Web Design with Creative Exchange

Sitecore SXA (Sitecore Experience Accelerator) is the buzzword nowadays in the Sitecore World. The Sitecore Experience Accelerator provides reusable, templated UX layouts and components to help you get up and running quickly. One of the important features of Sitecore SXA is Creative Exchange, which is helpful for executing the development and designing process to be done in parallel. The Creative Exchange process is designed to facilitate several different teams working on a website. For example, the team that is working on the theme of the site can work in parallel with other teams.

In this post, I will go through the step by step process to show you how to export, change the color of the text and then import back in Sitecore with the Creative Exchange.

I installed:

Create New Site

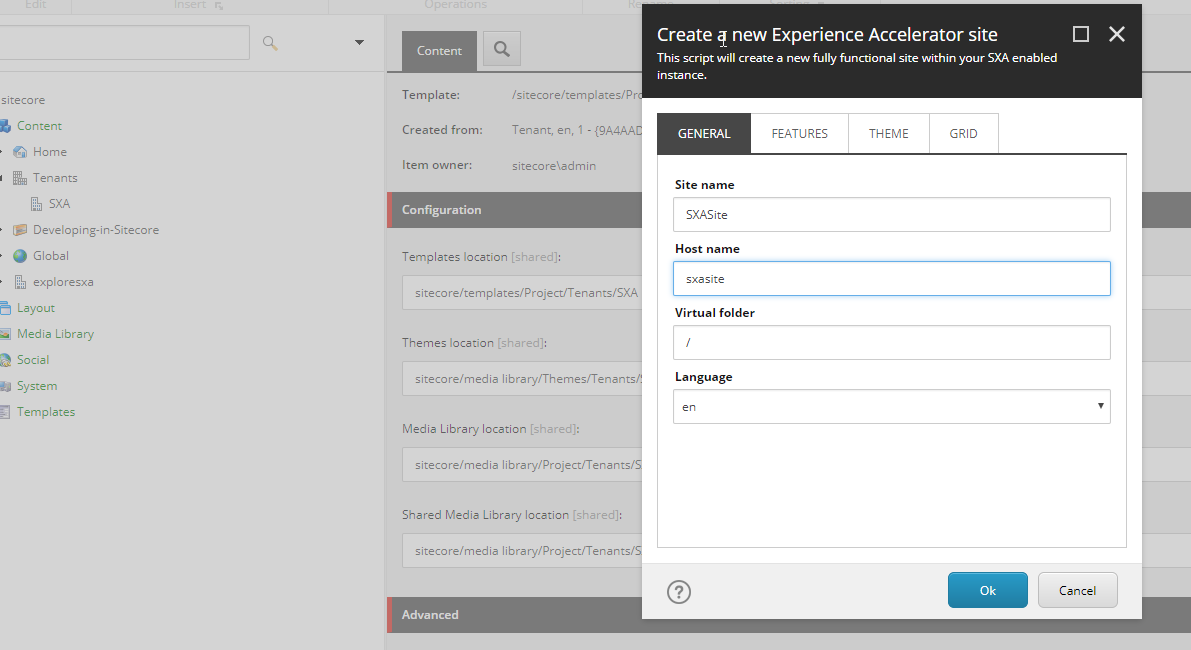
Create new site – I’m creating a new Sitecore site called sxasite. 

Read More

Share

Schedule Publishing Items in Sitecore

Hello Sitecorians,

You can now easily configure Sitecore Items for Scheduled Publishing using Sitecore PowerShell Extensions. PowerShell has a great Power. It saves developer life a lot by providing the way of Integrated Scripting Environment and without Web Deployment, you can execute the script on the different environments easily.

Schedule Publishing Items – A Sitecore MarketPlace Module 🙂

Schedule Publishing Items

It allows you to set the following options:

  • Items To Publish
  • Date and Time
  • Publishing Target
  • Publishing Language
  • Publish subitems

On date-time arrival – once the scheduled task is executed the script will start publishing items if the values are selected properly.

Make sure item is not in workflow and is allowed to publish, otherwise it won’t be published.

This module has following Items:

1) PowerShell Script – /sitecore/system/Modules/PowerShell/Script Library/Schedule Publishing Items/Internal/ISE Plugins/Scheduled Publish
2) Schedule Task: /sitecore/system/Tasks/Schedules/Schedule Publishing Items
3) Template Configuration: /sitecore/templates/Modules/Scheduled Item Publish/Schedule Items
4) Configured Item for Scheduled Publishing: /sitecore/system/Modules/Schedule Publishing Items/Schedule Items_DD-MM-YYYY

You can create any number of configured items for publishing at – /sitecore/system/Modules/Schedule Publishing Items/

Schedule Items_DD-MM-YYYY — This is just a sample item without properly selected values. You just need to add the values properly and Enable the checkbox for publishing at Scheduled Time.

Scheduled Publish Item

There is an option to disable an item or delete an item once publishing is done so that it should never process next time when the scheduler looks for the scheduled publishing task. If you do not select to disable an item after publishing is done and do not select to delete an item then it will execute every time the scheduler check for schedule items to publish as the time is passed away.

Note: The script will execute, once the scheduler starts scheduling jobs. The default time is 10 minutes, so every 10 minutes system will check for scheduled publishing. Therefore, while setting the time you need to be aware of the scheduled task execution time. Refer below in your config. If you have changed the value then it will work accordingly.

<!– An agent that processes scheduled tasks embedded as items in the master database. –>
<agent type=”Sitecore.Tasks.DatabaseAgent” method=”Run” interval=”00:10:00″ name=”Master_Database_Agent”>
<param desc=”database”>master</param>
<param desc=”schedule root”>/sitecore/system/tasks/schedules</param>
<LogActivity>true</LogActivity>
</agent>

PowerShell will to your scheduled publishing.

Reaction GIF - Find & Share on GIPHY

And you can enjoy your weekend.

Thread GIF - Find & Share on GIPHY

Happy Scheduling! 🙂

Share

Publish Bulk Items in Sitecore using Sitecore Powershell Extensions

Every Sitecore site will have a different set of requirement and one of the requirement could be Publish Bulk Items in Sitecore. If you have the same requirement then you are at right place. 🙂

Publish Bulk Items In Sitecore


This post is in accordance with my previous two posts:

  1. Export Sitecore Items
  2. Update Sitecore Items

This might be the case for your requirement, first Export Sitecore Items, then it could be Update Sitecore Items in bulk and then I’m sure there would be the third one to Publish Sitecore Items in Bulk.

I’ve written Sitecore Powershell script which would do the job easier. In Update Sitecore Items — I provided the sample file, the same file you can use for Bulk Publish.

Sample CSV File: pt_Publish_Sitecore_Items (I generally prefix the file with language so that we know which language version items are getting published)

Below script will first ask the user for the CSV File. Then it will ask for Target Database to publish Sitecore Items — The reason for providing this option is because every Sitecore site have the staging environment and it’s always better to verify the changes. So you can accordingly select the target database and after verifying you can push it Live. Once processing is done file will be deleted. Publish Mode is set to Smart.

Note, Sample CSV File has two important columns which are required by this script, ItemPath and Language — Items will be published in the provided language.

Read More

Share